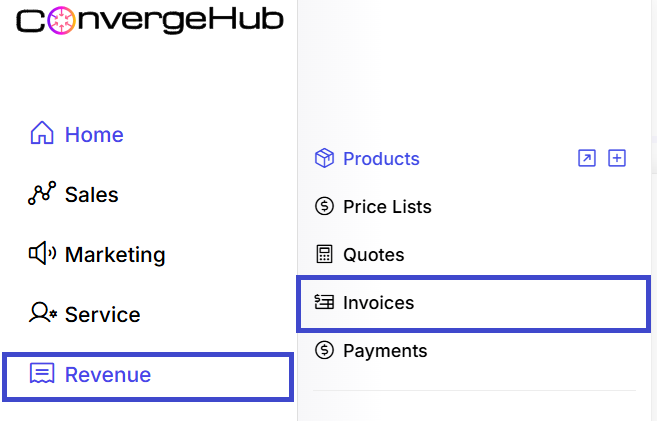
To start, go to Revenue from the menu on the left and click on Invoices.
New Invoice can be added by clicking the ![]() button in the top-right corner of the invoices listing page. Detailed information on the Invoice can be added through the General, Details, and Address tabs.
button in the top-right corner of the invoices listing page. Detailed information on the Invoice can be added through the General, Details, and Address tabs.
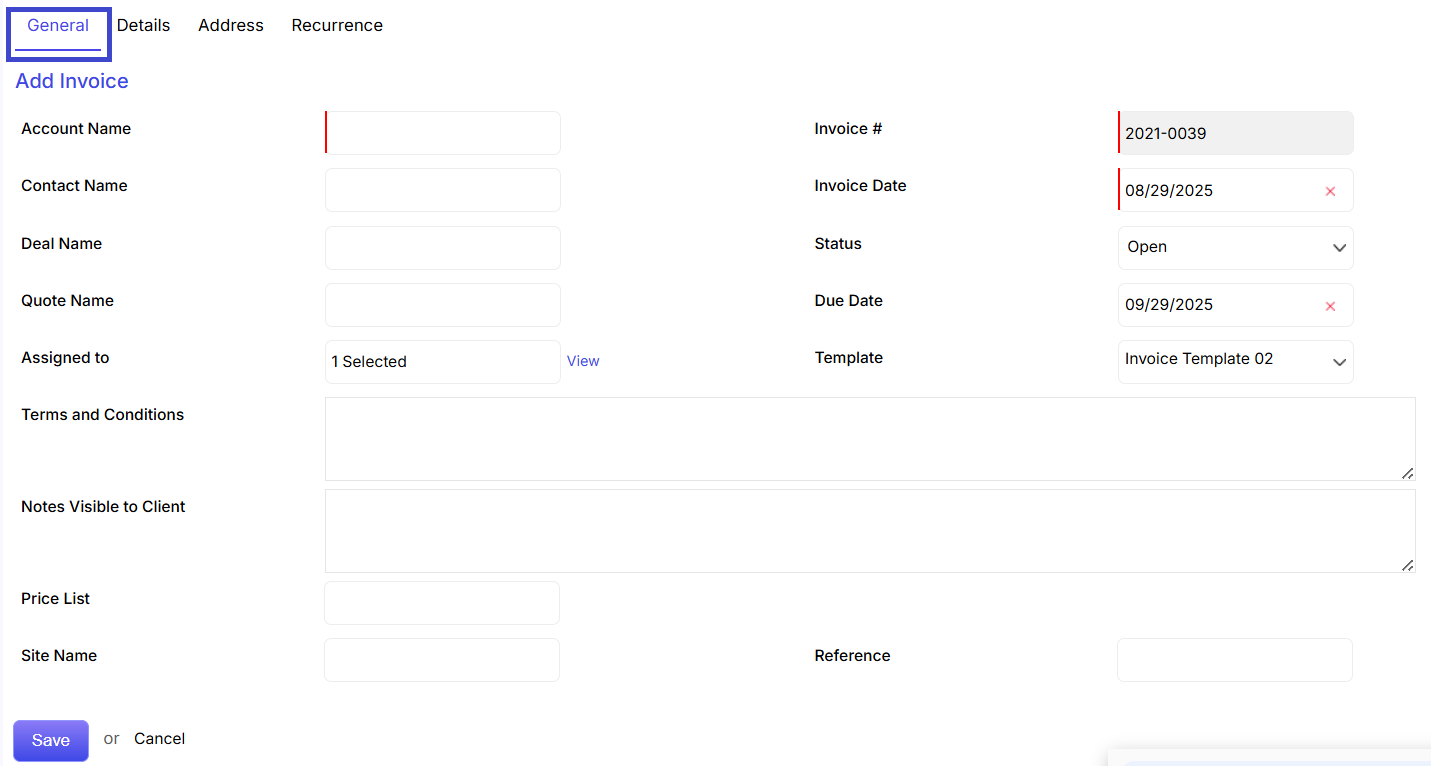
Account Name: Customer company (required).
Contact Name: Optional individual contact.
Deal Name / Quote Name: Link to related sales records.
Invoice #: Auto-generated or customizable.
Invoice Date & Due Date: Define billing and payment timelines.
Status: Choose from Open, Paid, Overdue, etc.
Template: Select from available invoice designs.
Terms and Conditions / Notes Visible to Client: Add billing terms and client messages.
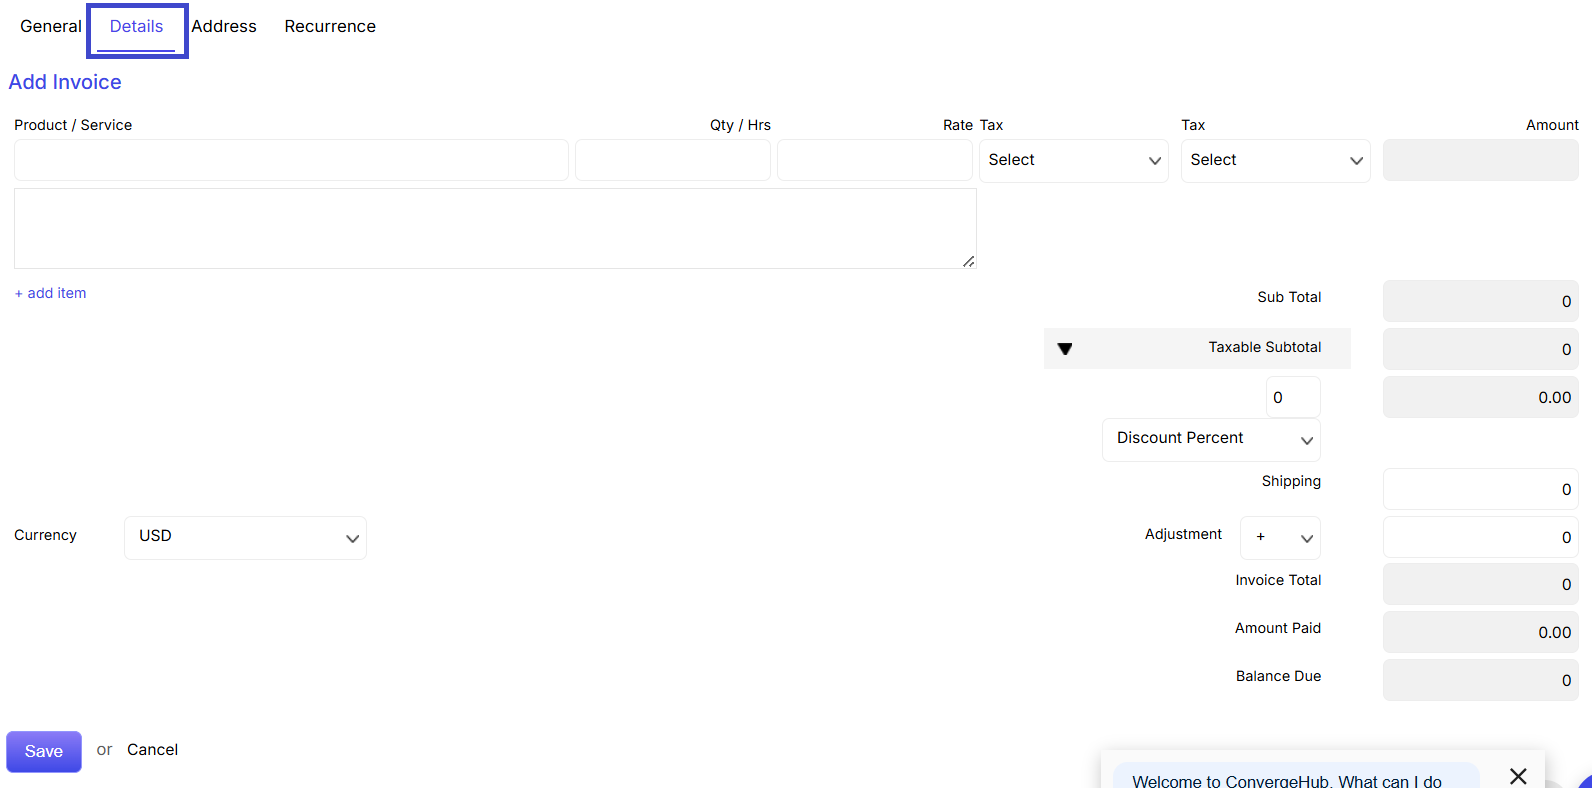
Product / Service Items:
Select items from catalog, specify quantity, rate, and tax.
Use + add item for multiple line entries.
Auto Calculations:
Sub Total, Taxable Subtotal, Discounts, Shipping, Adjustment
Final Invoice Total, Amount Paid, and Balance Due are calculated automatically.
Currency can be set at the bottom.
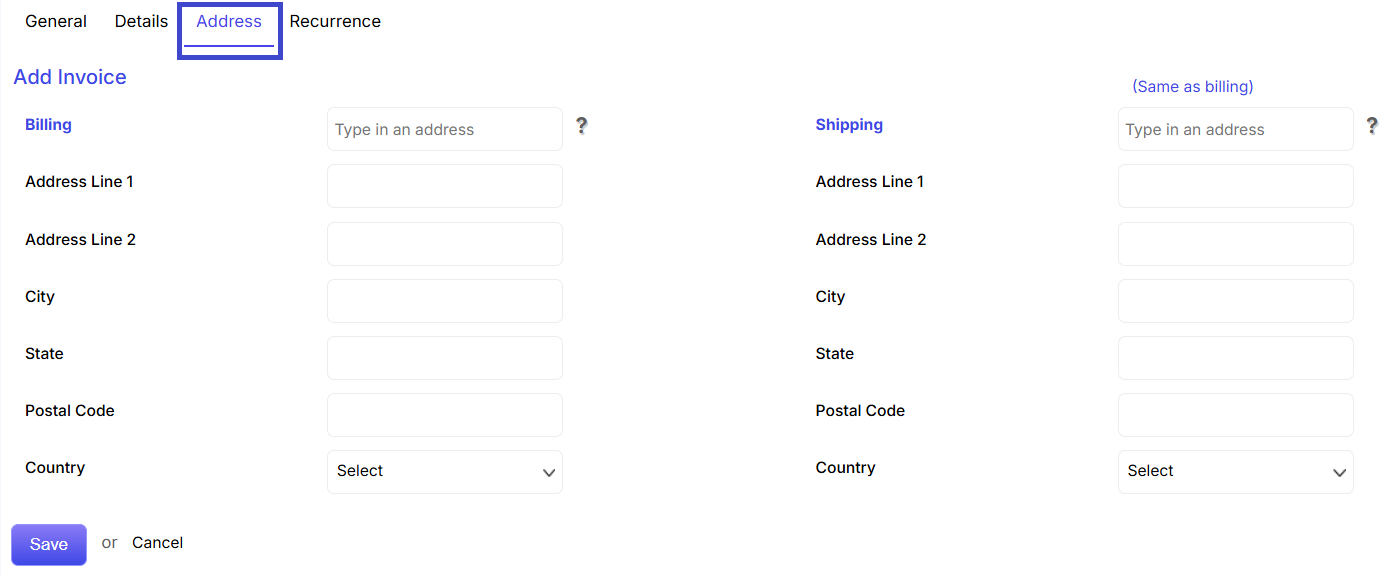
Billing & Shipping Addresses:
Enter details like street, city, postal code, and country.
Use “Same as billing” to copy address fields.
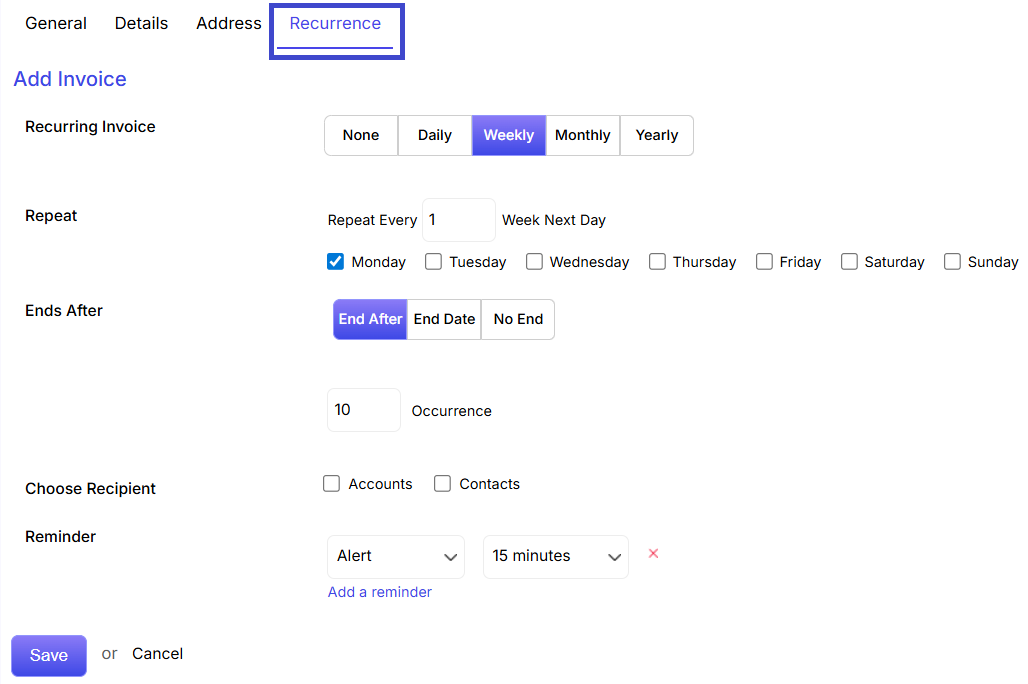
Recurring Invoice: Choose Daily, Weekly, Monthly, or Yearly.
Repeat: Set repetition interval and days.
Ends After: Set recurrence limit by occurrences, date, or no end.
Choose Recipient: Accounts or Contacts.
Reminder: Set up pre-reminders (e.g., 15 minutes before).
Finally, click Save to create the invoice.
Click Cancel to discard.