New Report can be created by clicking on the  button in the upper right corner of the report listing page.
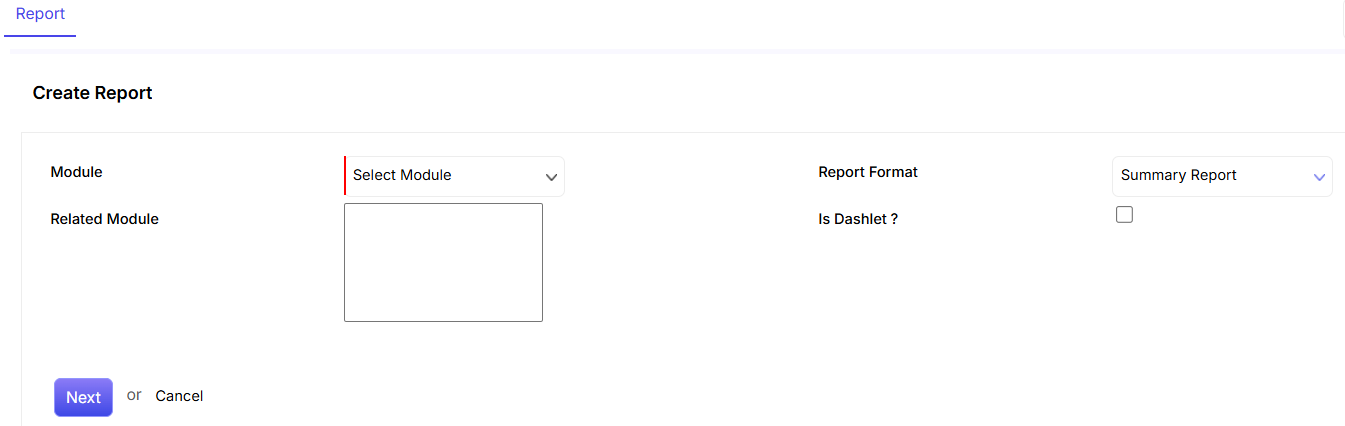
- In order to start creating a Report, you have to Select Module from the Module field. The Modules that can be selected are Accounts, Cases, Contacts, Deals, Events and Invoices etc.
- You need to select Related Modules from the drop down option. You can select multiple Related Modules by pressing CTRL and then selecting different modules from the list.
- Select Summary Report from the Report Format field.
- If you want the report to appear in one of the panels in the dashboard (i.e. the dashlet), click on the checkbox.
- Click on Next to move forward to the next step. Or else, click on Cancel.
Columns
Through the Columns tab, you can select the different columns that you want to include in your report.
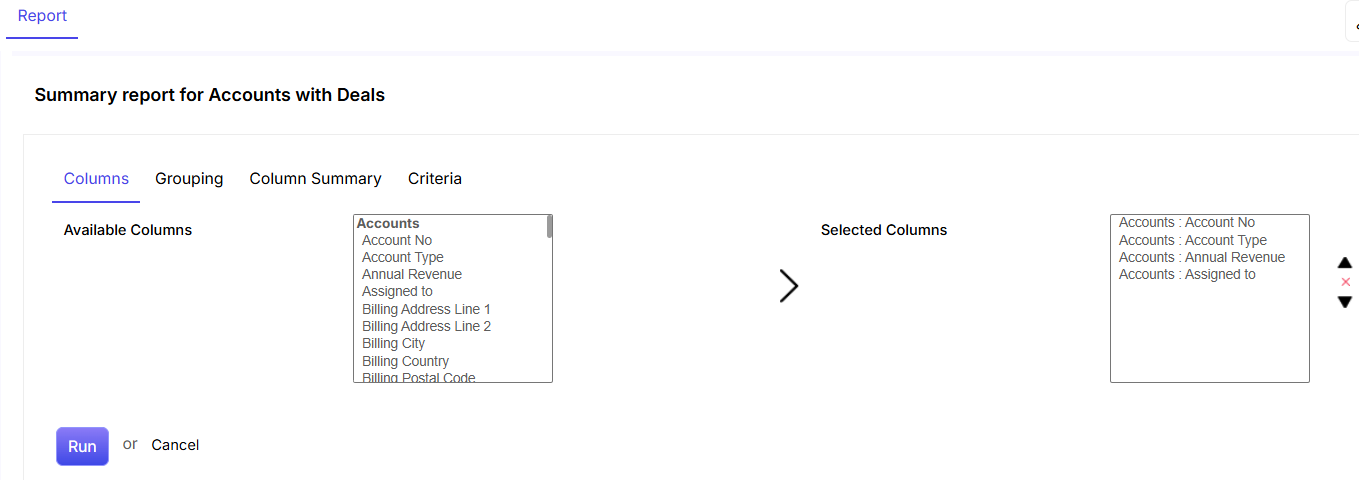
- The Available Columns can be scrolled down. You can select multiple columns by pressing the CTRL key, selecting the required columns and then clicking on the
 icon.
icon. - The Selected Columns are displayed which you can remove from the list by selecting them and clicking on
 icon. Once you select a Column, you can also scroll down by clicking on the
  and
and  arrow, select more if required and delete them collectively by clicking on .
Grouping
You can group different columns in the report for a more clearer and precise view.
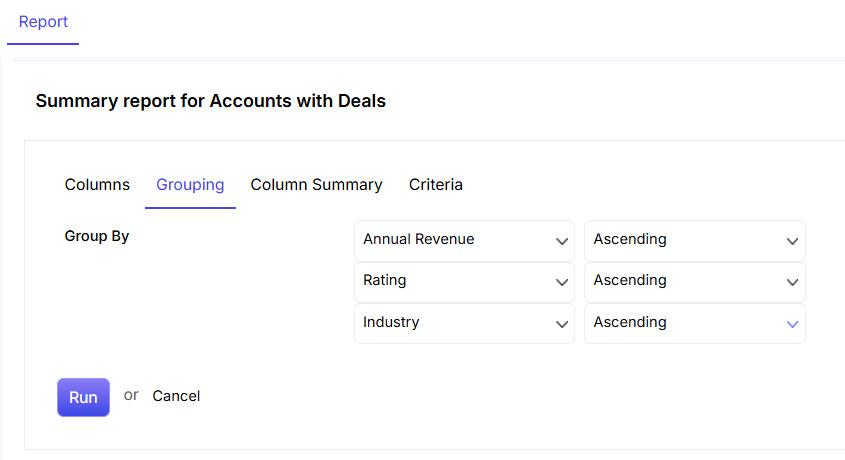
- Select the columns that you would want to group in the report. For instance, in the above-given screenshot, we have chosen Annual Revenue, Rating and Industry as the three columns in which the results should be grouped in the report.
- You can choose whether you want the information to appear ascending/descending wise.
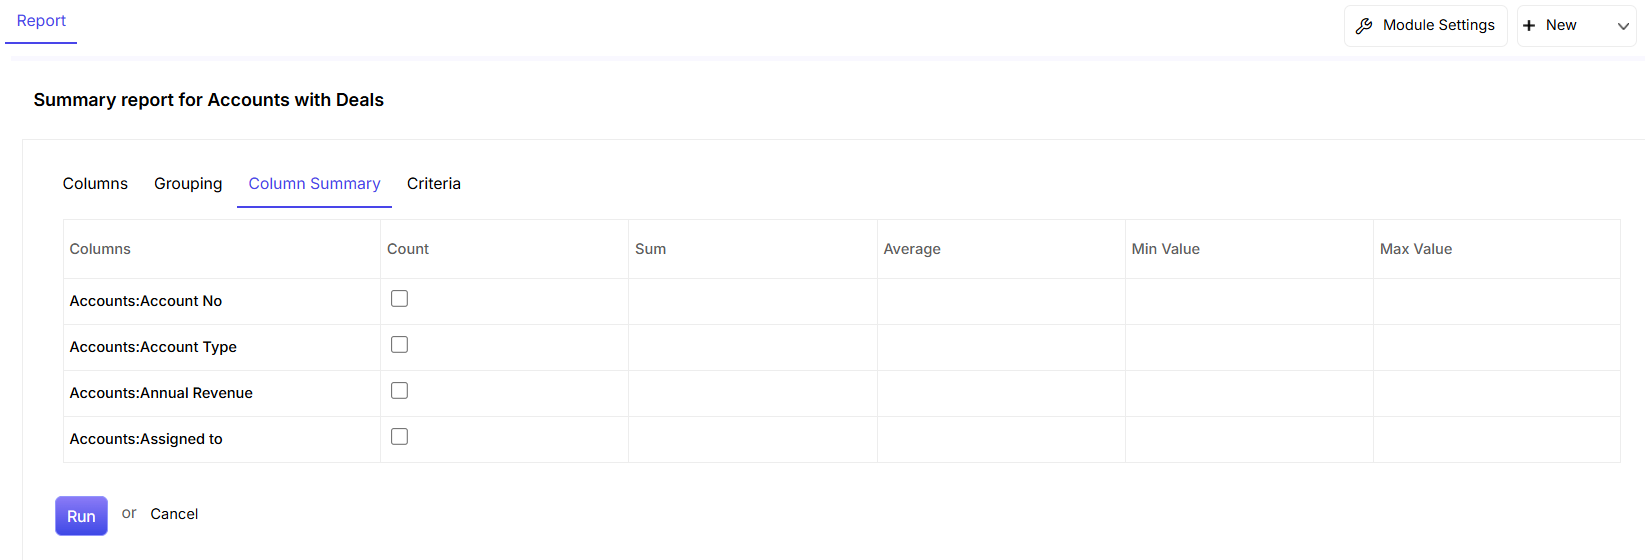
Column Summary
This section allows you to acquire different values of the columns through the report. For instance, in the below-given screenshot, if you want to have the count of columns like account no, account type, annual revenue and assigned to, then you need to click on the corresponding check boxes respectively.
Criteria
The Criteria tab helps you set Advanced Filters. This can be done by selecting the required fields from the list and then setting conditions and putting values to corresponding conditions.
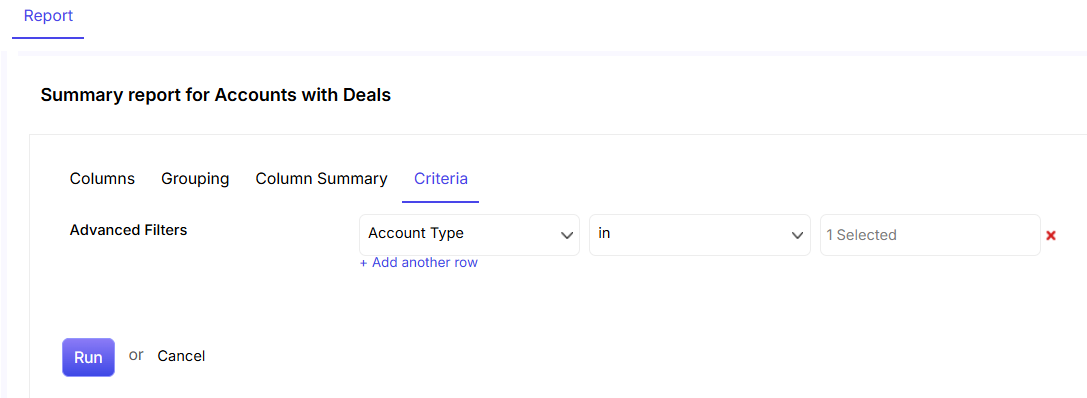
- Multiple Criteria can be set by clicking on the “+ Add another row” link.
- You can cancel a row by clicking on icon.
- You can create Report by clicking on Run.
When you click Run, you will be directed to the below-mentioned page. Here, you need to put in a few details and most importantly decide the scheduling of the report (if you want).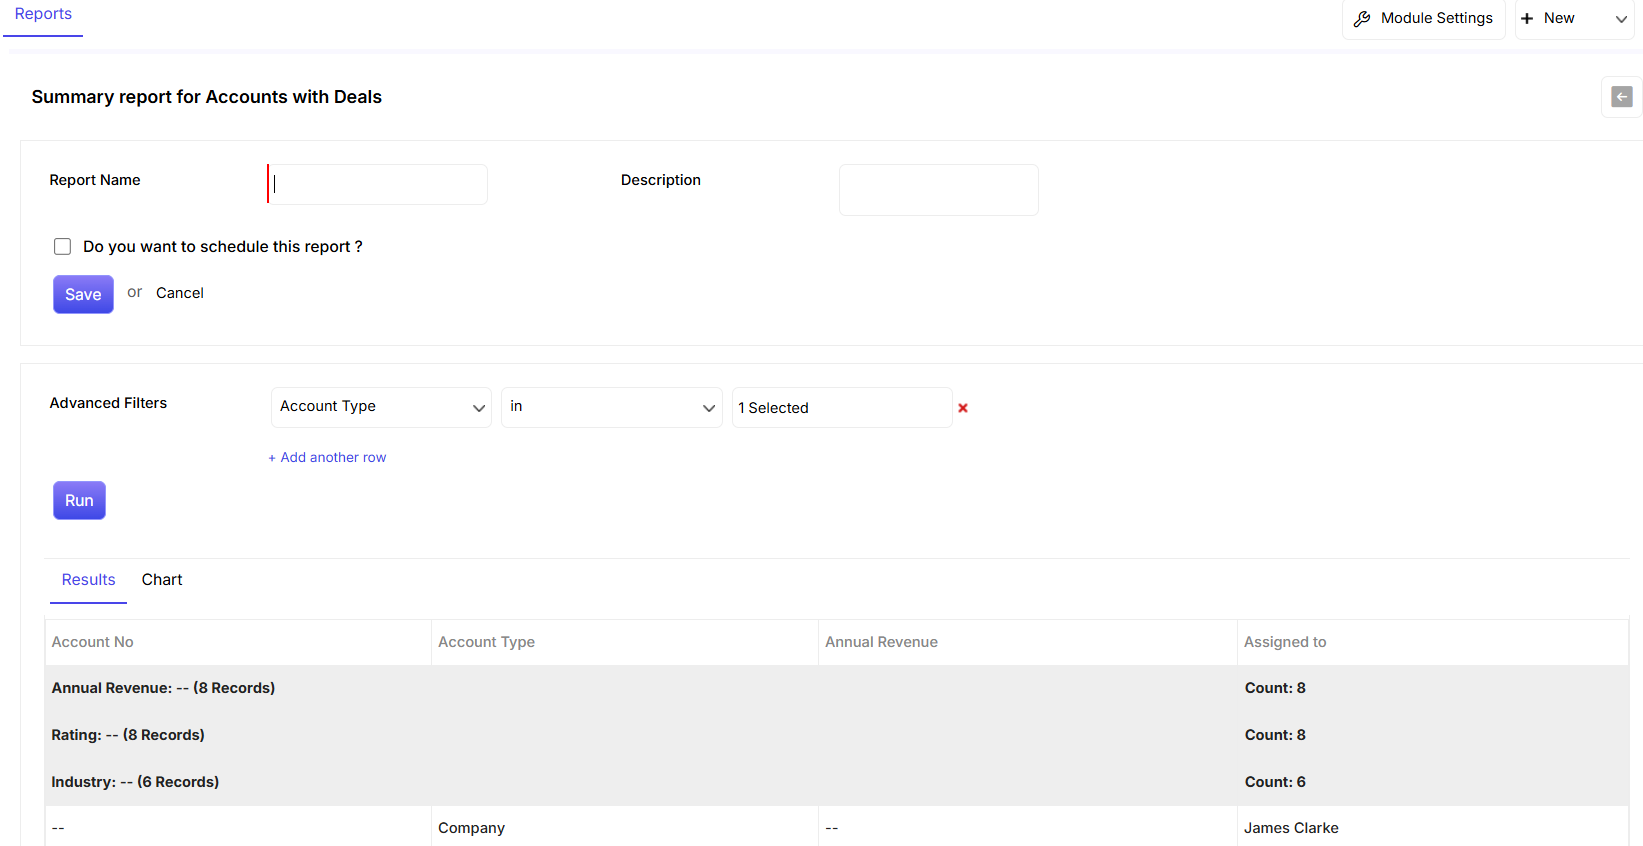
- The Report created is displayed at the bottom and can be saved by putting a name in the Report Name field.
- You can add a small description of the report in this field.
- You can schedule the generation of the report by clicking on the check box.
- Click on Save to complete saving the information in the CRM. Click on Cancel to stop the report creation process.
- Click on Run to generate the report.
Report Schedule
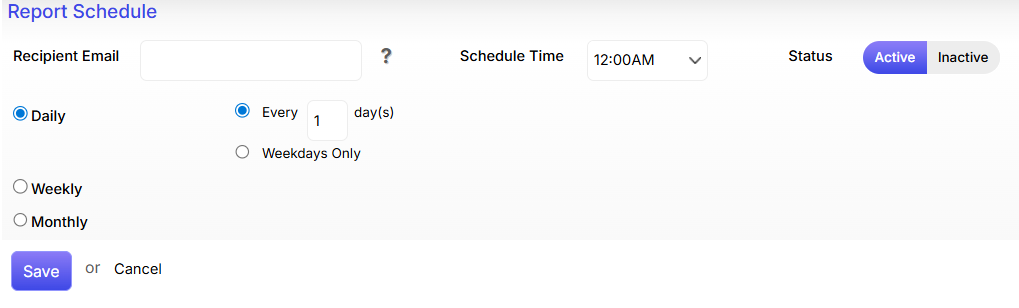
- You can enter Recipient Email address in the given field to allow ConvergeHub to send direct emails to the recipients.
- You need to set the time at which the report will get automatically generated.
- You can set the status of the report as active or inactive by clicking on either of the options.
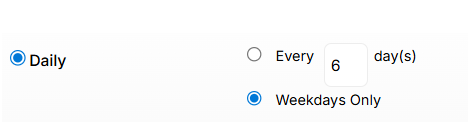
- You can set the recurrence of the generation of the report. If you choose Daily, you can set the number of days in which you would want the report to get generated. You can also choose the report to generate only on Weekdays.
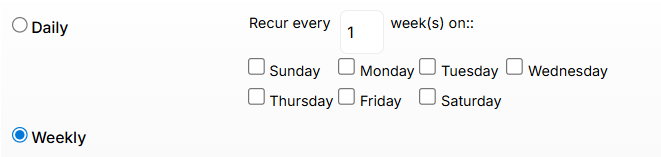
- The Report can be generated Weekly by choosing weekly option. Weekly recurrence can be set by entering the number of Weeks after which the report will be generated. You can select the days on which you want the report to generate.
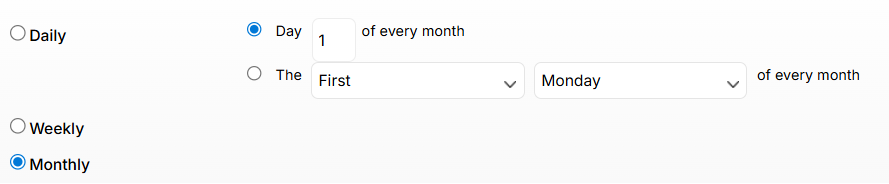
- Monthly report can be generated by choosing the Monthly option. You can set a day of a month or a day in a week of every month on which the report will be generated.
- Once you have scheduled the report, click on Save to apply the scheduling options.