To start, go to Marketing from the menu on the left and click on Prospects.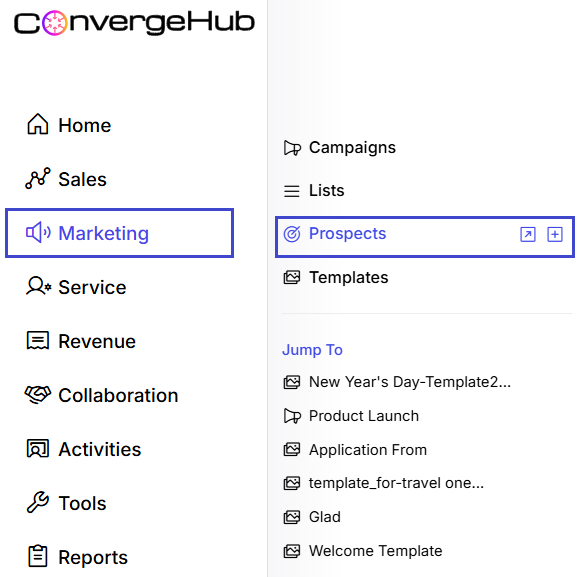
Once you’re on the Target list, you can create a new one by clicking the ![]() button in the top-right corner. The “Add Target” page will open with all the necessary fields. You can enter detailed information about the target using four sub-tabs: General, Address, and Other, each with its own corresponding fields.
button in the top-right corner. The “Add Target” page will open with all the necessary fields. You can enter detailed information about the target using four sub-tabs: General, Address, and Other, each with its own corresponding fields.
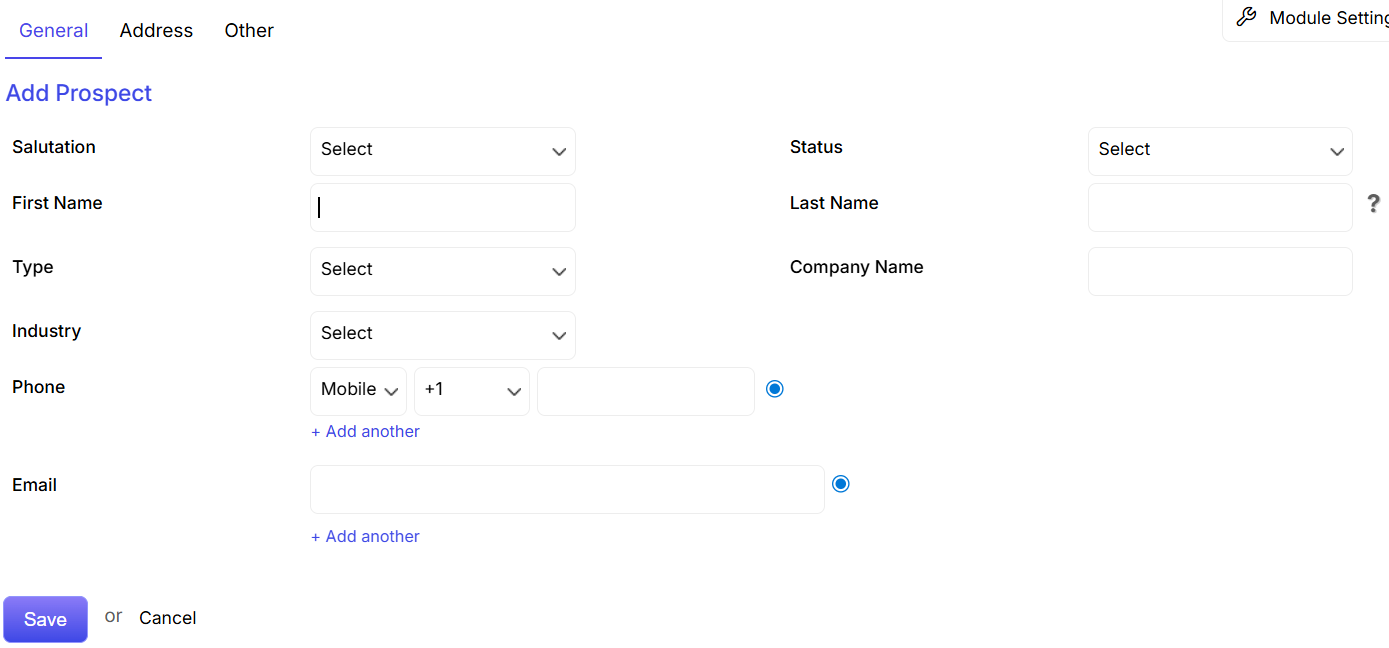
Salutation: Choose a title (e.g., Mr., Ms., Dr.) for personalization.
First Name: Enter the prospect’s first name (required).
Last Name: Enter the last name (recommended for identification).
Status: Select the lead stage (e.g., New, Contacted, Qualified).
Type: Define type of prospect (e.g., Individual, Company, Partner).
Company Name: Enter the organization they are affiliated with.
Industry: Select the relevant industry for segmentation and targeting.
Phone: Add mobile/office number. Click + Add another to include more.
Email: Add email address. Use + Add another for secondary addresses.
Address Tab Fields
Multiple addresses of the target can be added from the Address tab.
Other Tab Fields
Other details of a target such as Department, Birth date, Website, Description, Annual Revenue, Employees and Title can be added through Other tab.