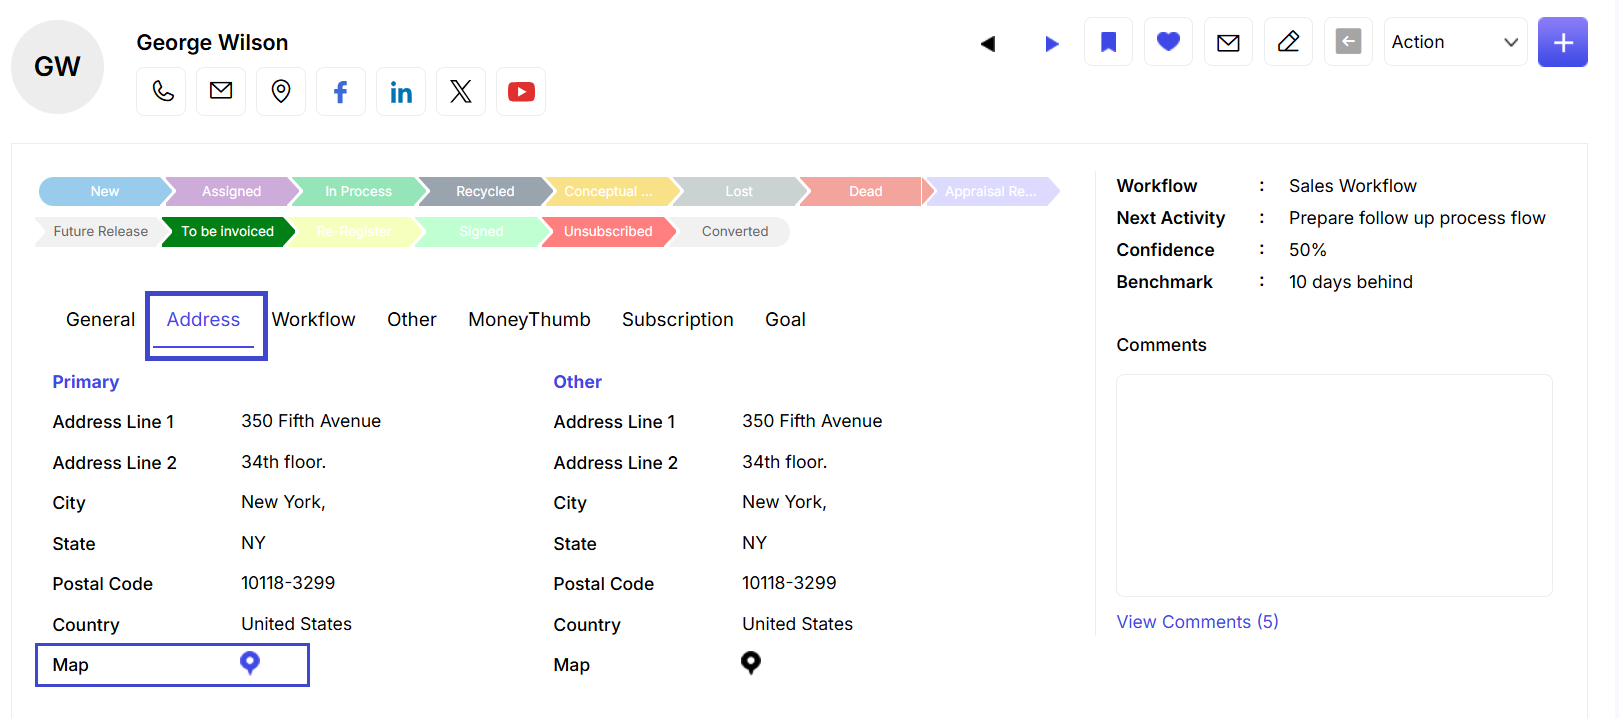
This page contains all the information that you have added while creating the Lead. The information is view able through the General, Address, Workflow, Other tabs. You can view the history of the Lead along with the lists related to it. You can select files and products related to the lead. You can also add note, event and task to the lead.
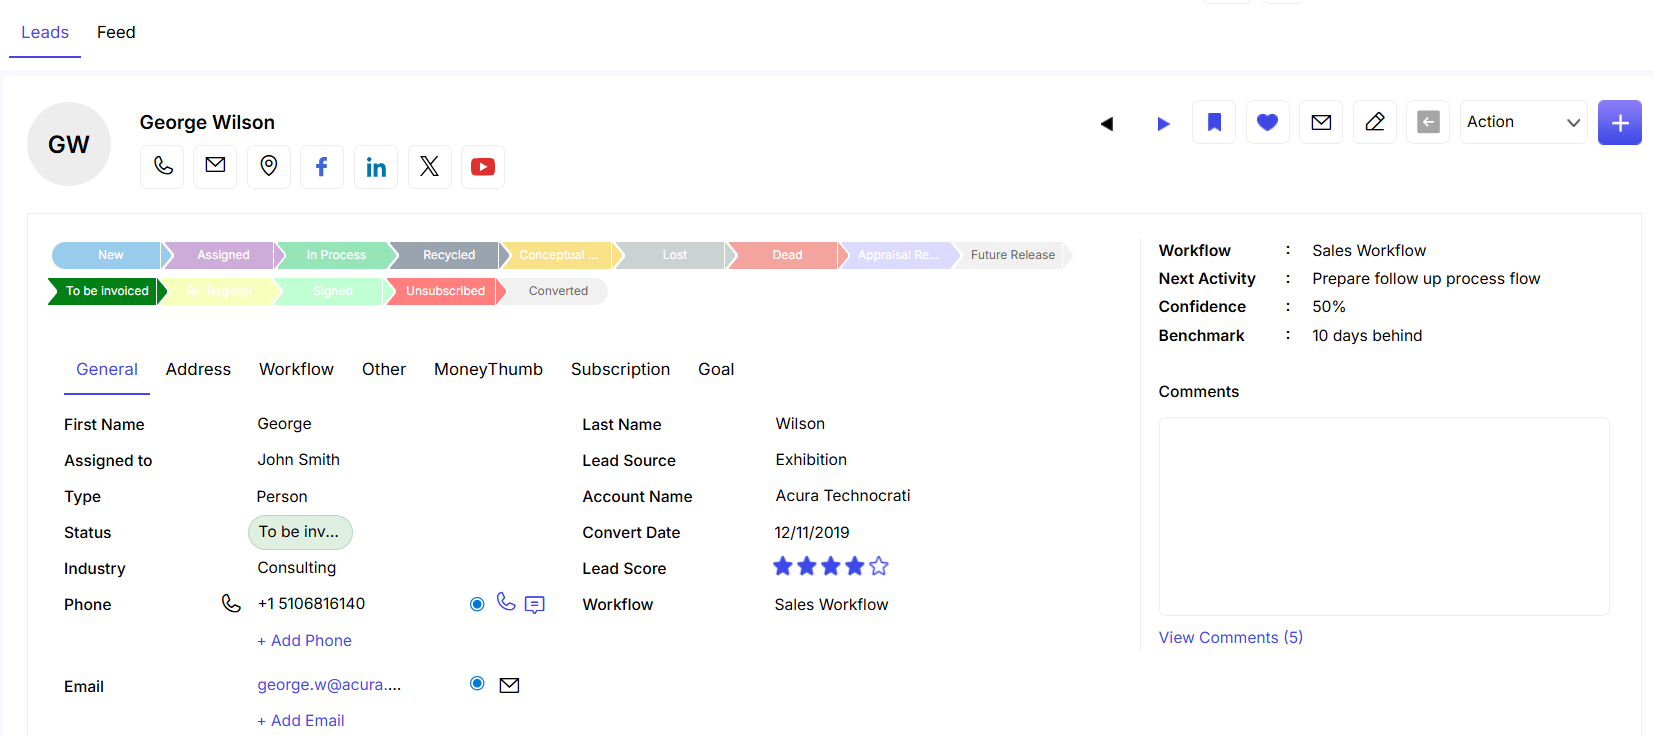
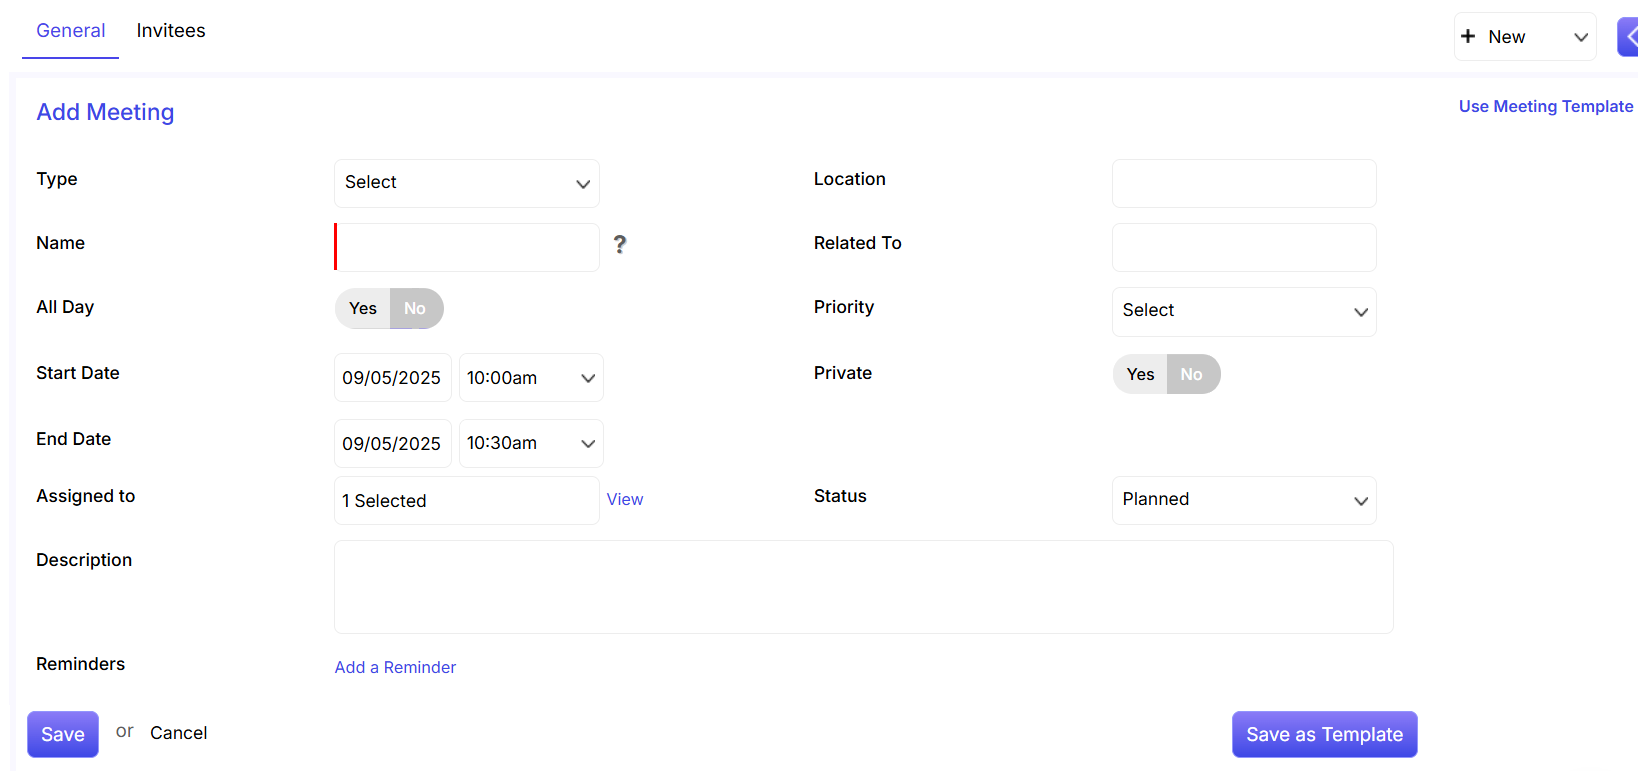
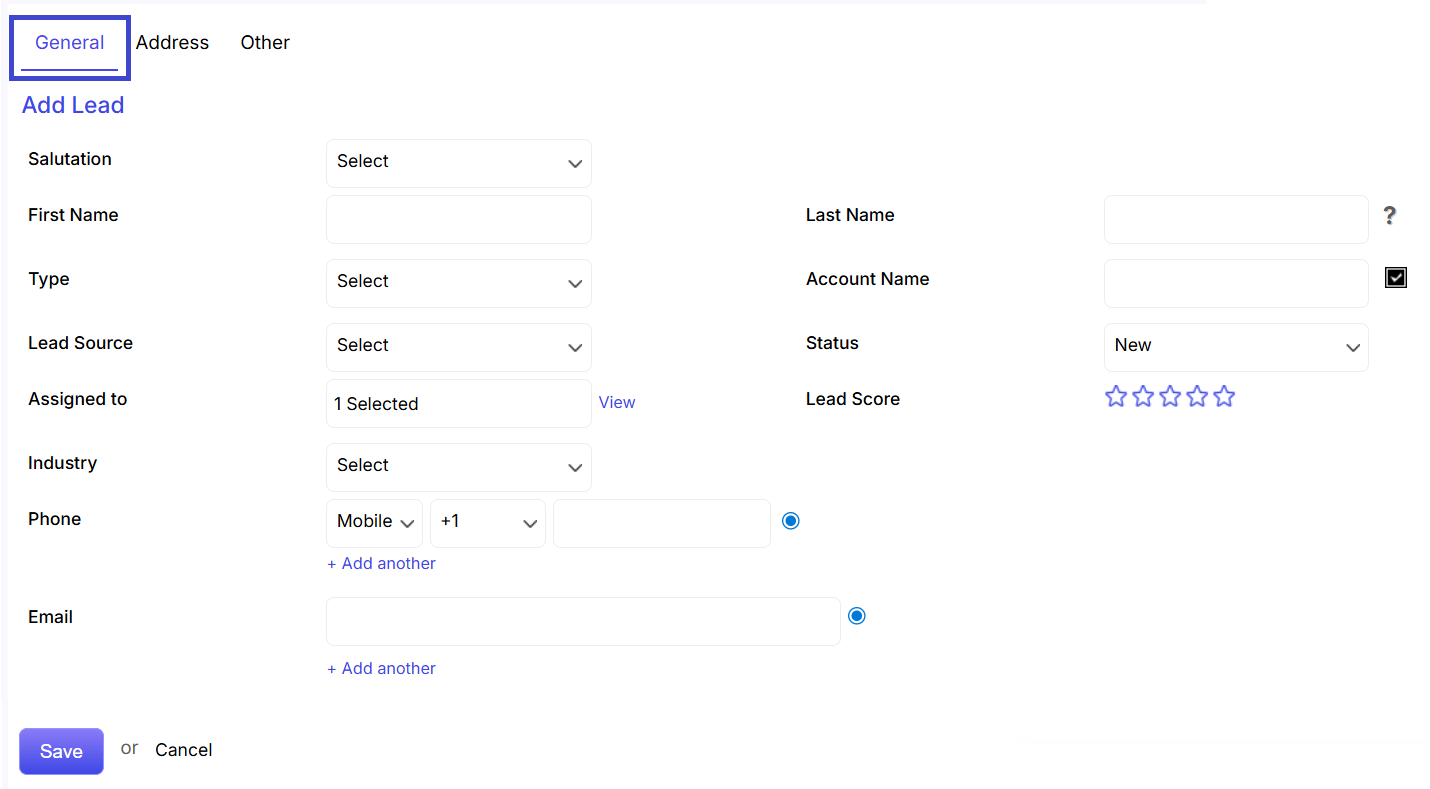
Information about the lead such as First & Last Name, Assigned To, Lead Source, Type, Account Name, Status, Lead Score, Industry and Comments etc is displayed under the General category.
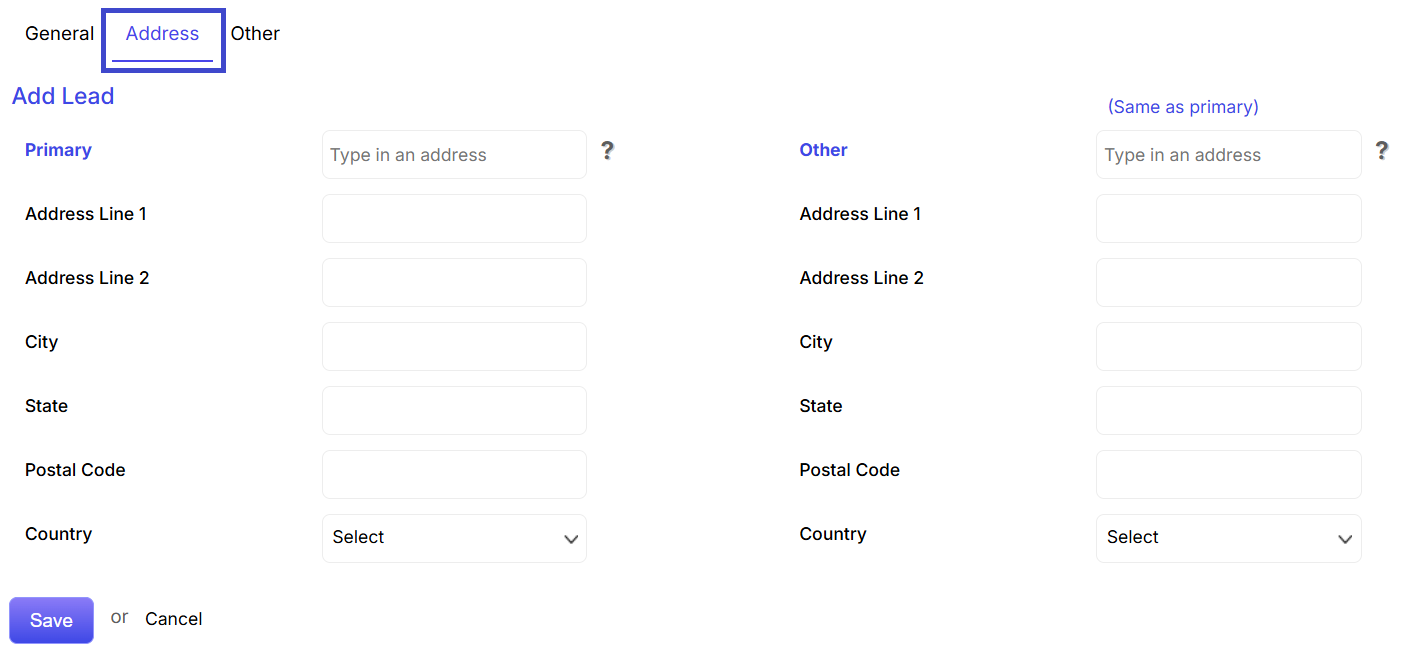
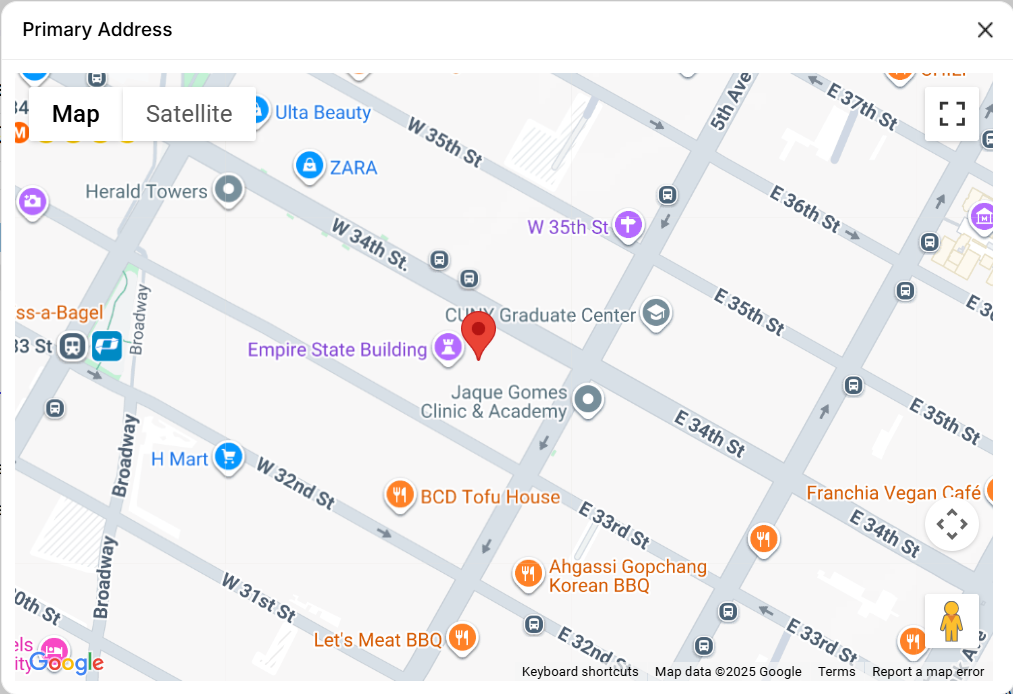
Multiple addresses of the Lead can be viewed through the Address tab.
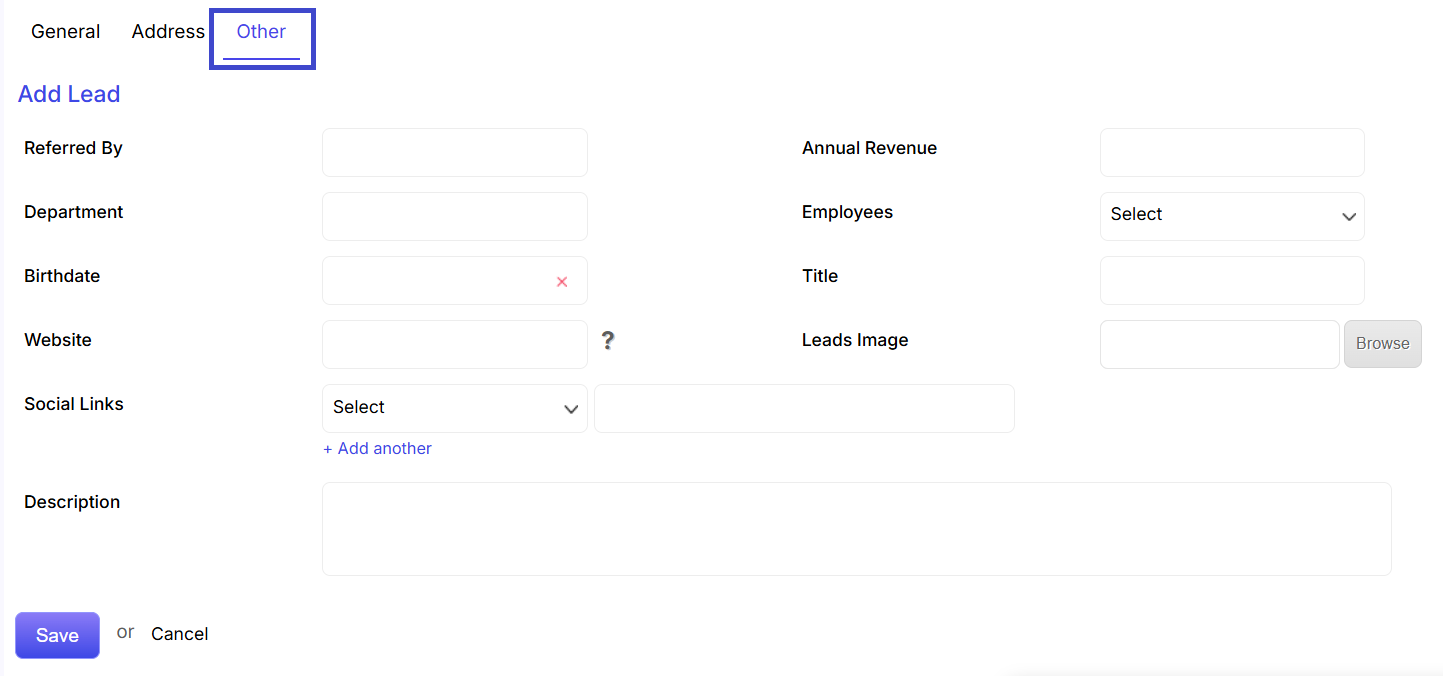
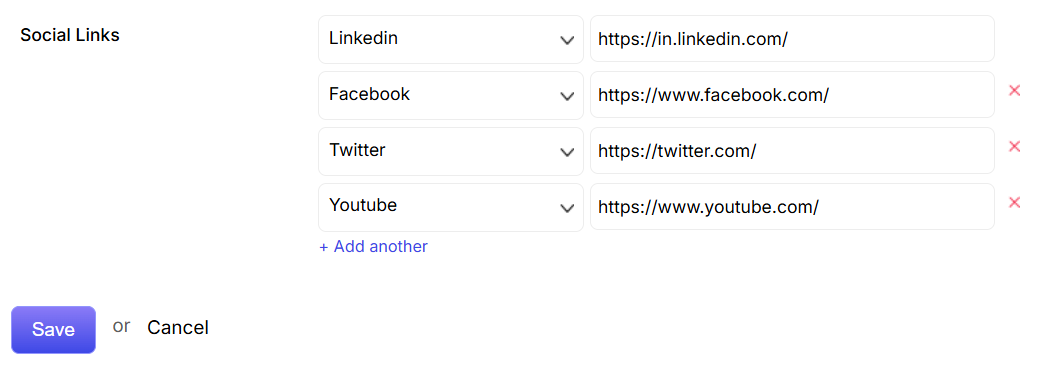
Other significant information like Referred By, Department, Created By, Title, Last Modified By and Description etc is view able in Other tab.
Add Related Information: The  icon helps you create relationship between Lead and Library, Notes. Products, Events and Tasks.
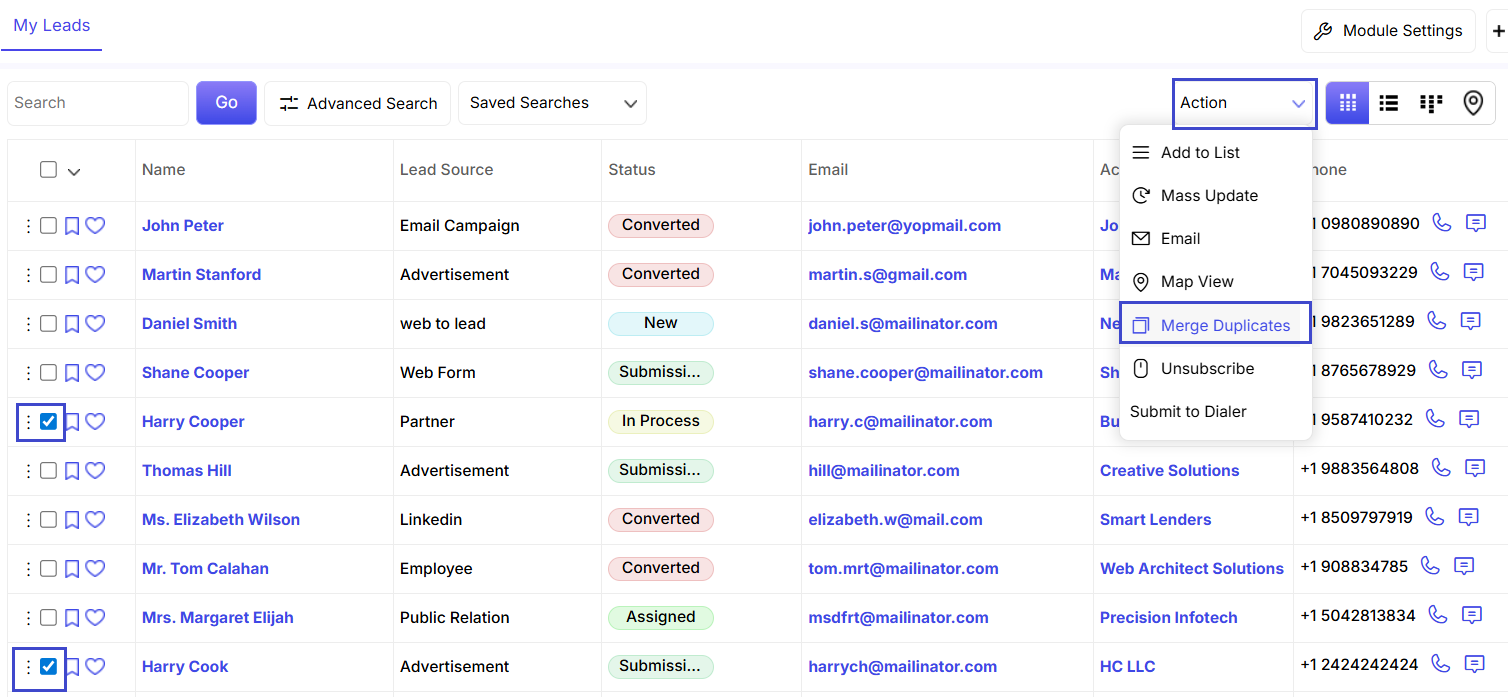
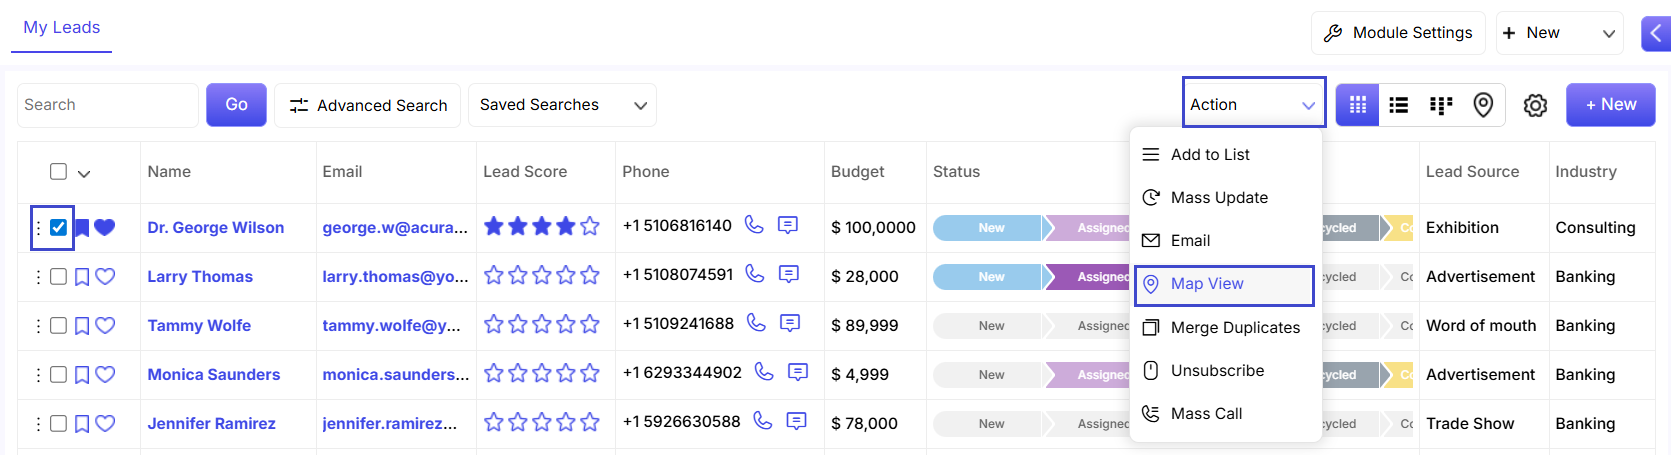
Action: You can Add to List, Convert, Copy, Edit and Refer the lead by clicking on the action drop down. Additionally, you can also Generate Agreement from here.
You can put your Comments on the Comment field and can view Comments of others.
Feed Tab
You can view all the updates/comments on the Lead through the Feed tab.
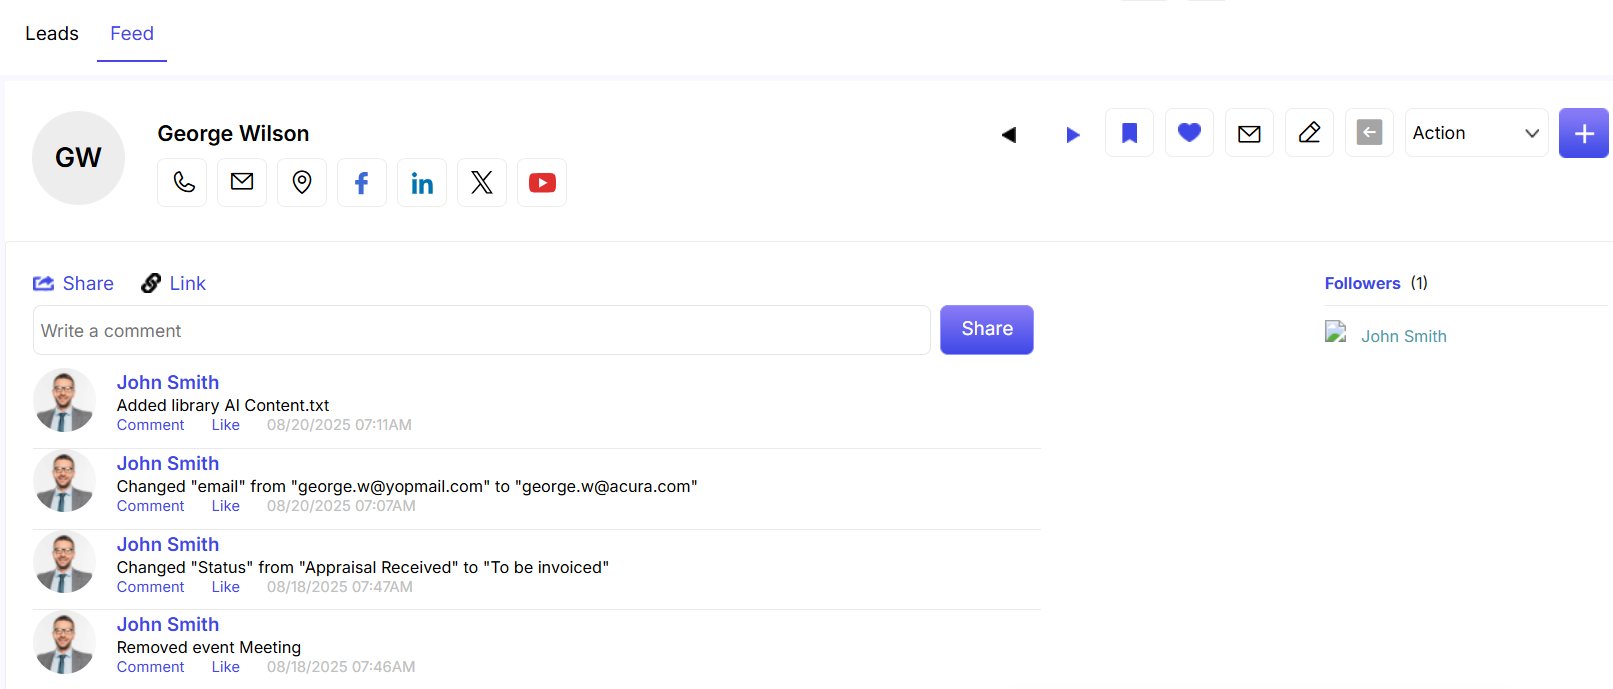
You can share link from the Link option.
You can write your own comment in the comment box and share it with other users by clicking on the Share tab.
You can comment on others comment by clicking on the Comment link. You can further edit or delete the comment as required.
Like and unlike can be posted on Comments by clicking on the Like or Unlike option.