New Tag

To start, go to Activities from the menu on the left and click on Tags. Once you’re on the tags list, you can create a new one by clicking the  button in the top-right corner.

The Name is mandatory to be filled in to add a new tag.

You can enter a Category to the new tag through the Category field.
Action: You can edit the tag name by clicking on the action drop down.

Add Related Information: The corresponding tag can be linked with different modules (Accounts/Leads/Contacts/Deals/Invoice/Quote/Product/Partner) through the button. As you can see in the screenshot above, this tag is currently linked to one record in the Accounts, Leads, Contacts, and Deals modules.
Select: You can tag more Accounts/Leads/Contacts/Deals by clicking on button.

Notification

The notification system is one of the vital functions of the ConvergeHub. It is a quick and easy way to inform one or multiple business associates about crucial information. The information conveyed as a notification can be anything such as reminder of upcoming activity, status of the deals or a recent update.

A prompt notification system inevitably helps an organization to maintain a smooth round-the-clock communication channel.

Library

Library is an important module of the CRM where you can store and share all the necessary files and folders regarding Leads, Deals and Contacts. Apart from easy storage and sharing, library allows you to download the documents as and when you require. Easy creation and storage of files and folders helps you keep constant track of important agreements and documents.

To start, go to Collaboration from the menu on the left and click on Documents. 

  • Jump To: Quickly find a specific file or folder by searching for it.
  • Sort By: Change the order of the files and folders in your library.
  • Upload: Add new files to the library.
  • New Folder: Create a new folder in the library.
  • Add Link: Add a new link to the library.
  • Actions: The dropdown menu lets you delete, download, or move/copy files and folders. Select one or more files or folders using the checkboxes to perform actions on them all at once.
  • Create Link: Generate a shareable link for a file or folder.
  • Collaborate: Share files and folders with third-party associates, whether they are ConvergeHub users or not, and grant them permission to view and update content.
  • View: Open and view a file directly.
  • Download: Download files or folders directly by selecting this option.

Collaboration

Import

ConvergeHub’s CRM import function is designed to help users efficiently migrate data from external sources into the platform. This feature supports common file formats like CSV and Excel, allowing you to centralize information from various spreadsheets and databases. The process is streamlined with a mapping tool that helps you align your external data fields with the corresponding fields within ConvergeHub’s modules, such as Leads, Contacts, or Accounts. A key benefit is the ability to easily bring in a wide range of customer data, helping you achieve a 360-degree view of your clients. This reduces manual data entry, improves data quality, and ensures all your information is in a single, accessible location.

Bookmark & Recent View

ConvergeHub allow its users to view the bookmark items from the dashboard itself. In addition to this, it provides a section called Jump To from where the user can get a list of the sections he/she has recently viewed in the CRM application.

convergehub

  • Click on the arrow icon at the right side of the dashboard. A section will open showcasing the Bookmarks and Jump To Option along with Calendar and Today’s Work list.
    convergehub
  • View all the bookmark items under the Bookmark section.
  • Click on Jump To to have a look at all the recently viewed items in the CRM.

Export

You can export complete or selected list of your ConvergeHub data in PDF or Excel format from your account by clicking on the small ConvergeHub icons at the bottom of the page. The list will be downloaded directly to your system.

Please note: ConvergeHub allows you to export up to 5000 contacts directly from the system. If there are more contact records, you will receive a notification stating that the total records are more than 5000. In such a case, ConvergeHub will first export records till 5000 while it will export the rest later. You will receive a mail when all the contacts get exported from your ConvergeHub account.

Tags

Desired keyword can be added to different modules as tag and can be easily accessible through these tags. From this section, Tags can be added and can be linked to different modules like Accounts, Leads, Contacts, Deals, Task, Events, Products etc. You can learn about how to use tag from the following modules:

Billing

The billing section will help you manage product details, create quotations and generate invoices.

Feeds

Feed is the section where all the information on the updates of different modules and comments can be found. Users can share Comments and Links from here. Feed provides significant useful information on different modules to users.

You can write your own comment in the comment box and share it with other users by clicking on the tab.

You can also share link from the option.

You can comment on others comment by clicking on the link. You can further edit or delete the comment as required.

Like and Unlike can be posted on Comments by clicking on the or option.

Set Reminders

You can set a reminder for the meeting in the form of an AlertNotification or Email.

Clicking on Add a Reminder will open a few fields to be filled in.

You can choose the Type of reminder you would want for the Meeting AlertNotification or Email.

You can choose the Time when you would want to get reminded about the Meeting.

You can also remind the invitees, by clicking on the Remind Invitees check box.

Save the reminder.

New Automation

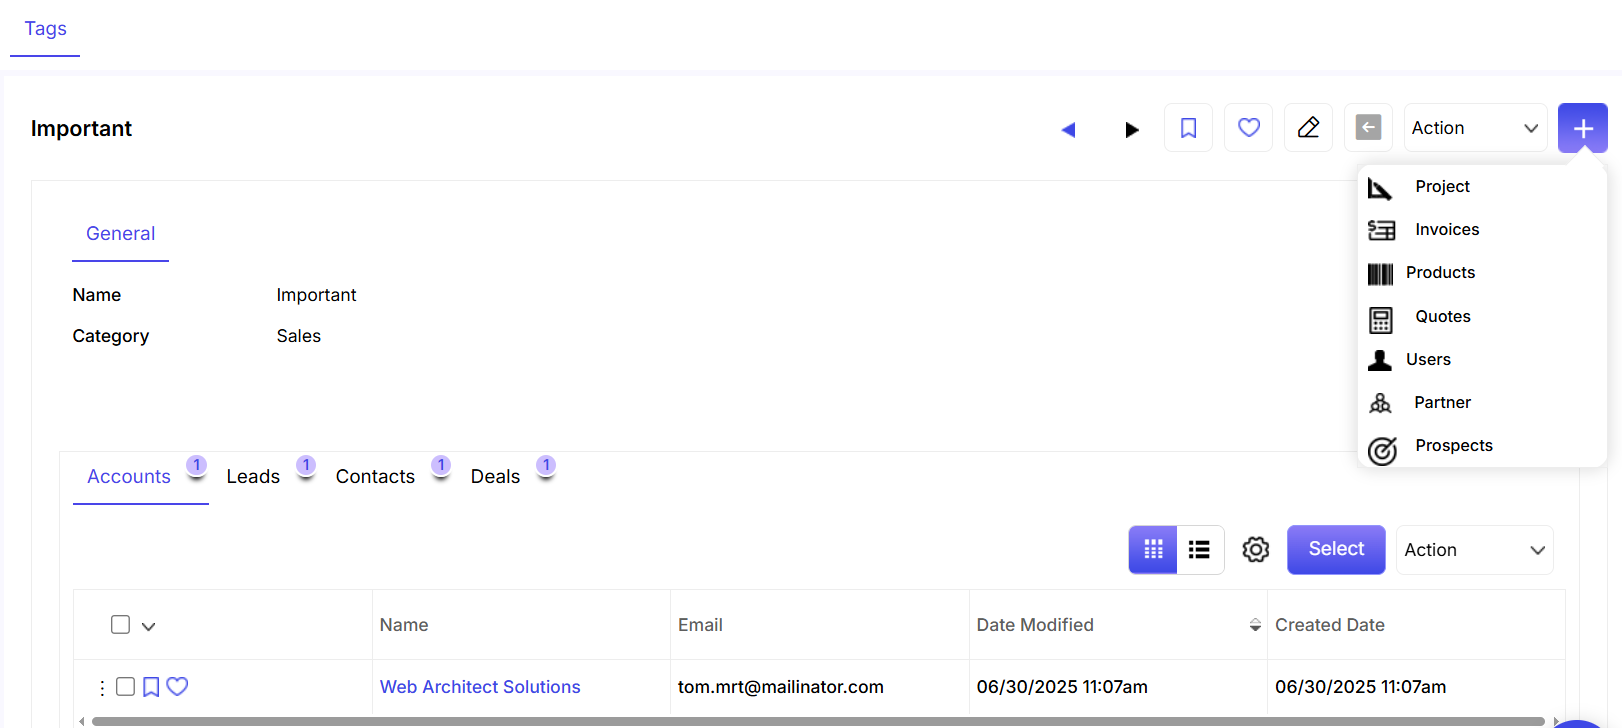
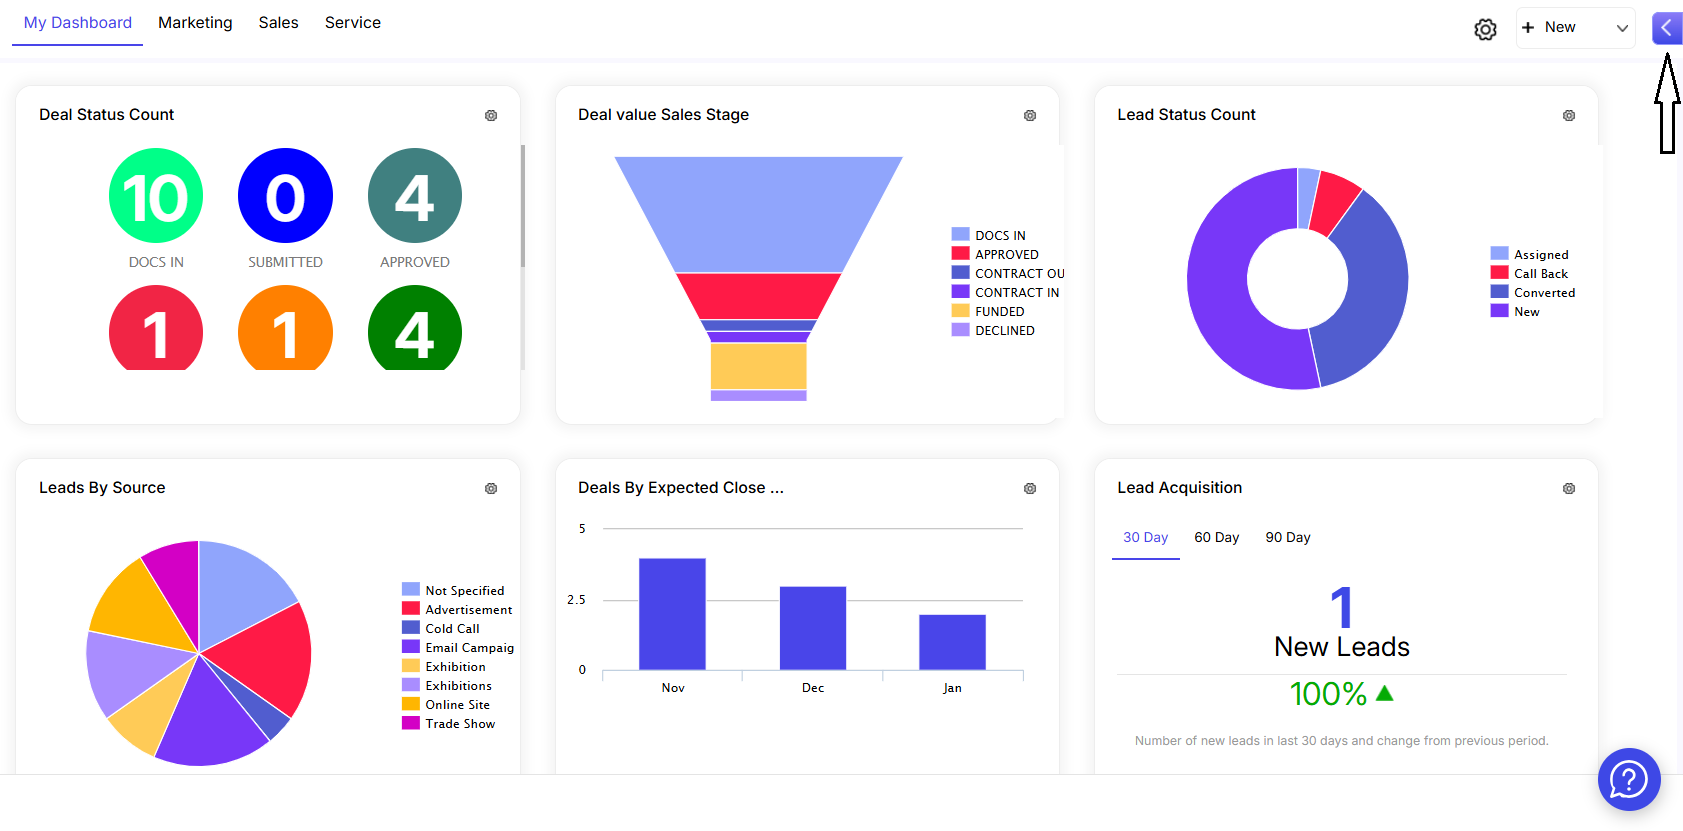
To start, go to Tools from the menu on the left and click on Automations. Once you’re on the Automation list, you can create a new one by clicking the  button in the top-right corner.

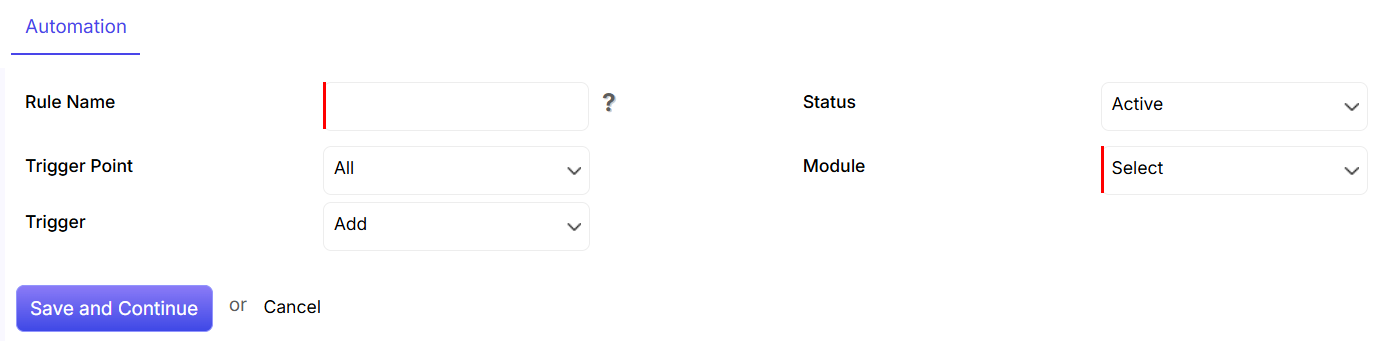
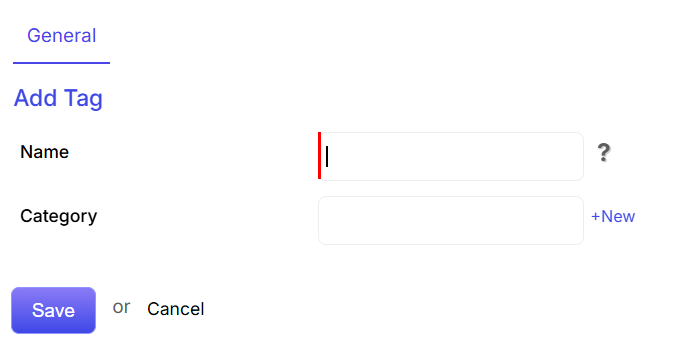
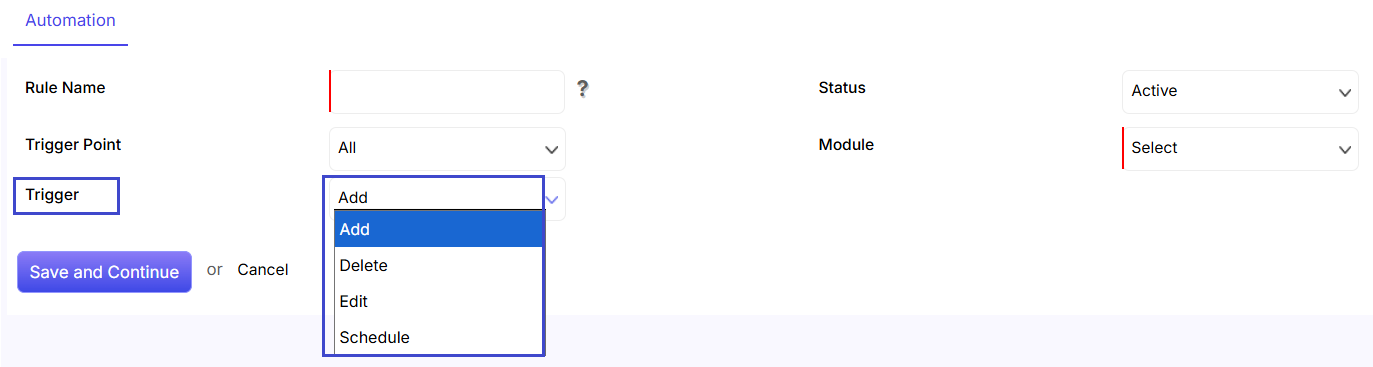
Rule Name: Under the Automation tab, you will be able to enter the Automation Rule Name.

Status: The automation Status can be set as Active or Inactive. When the automation is set as Inactive, the various threads which were initiated during the active automation status will still be executed as per automation schedule.

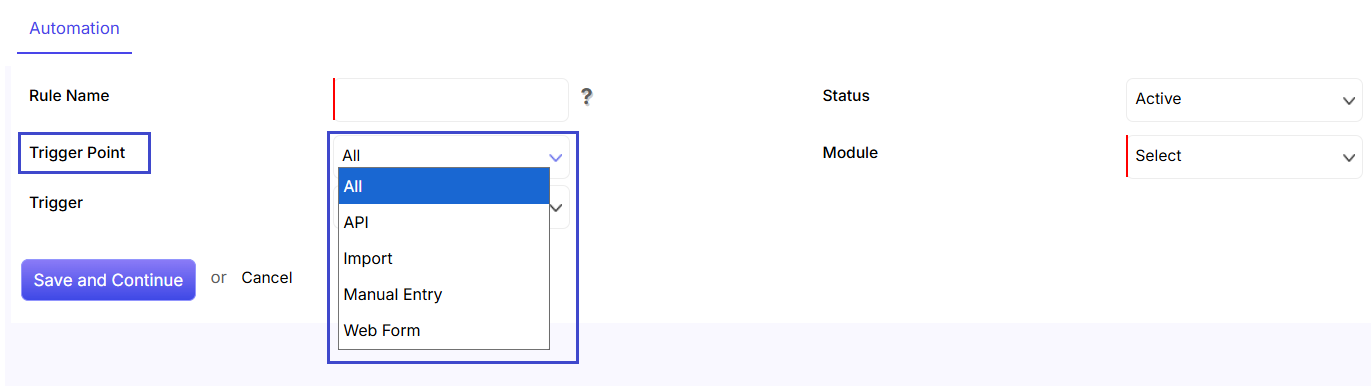
Trigger Point: The Trigger Point is the field where you can select the point when an automation will be triggered.

Module: The Module field will help you select modules such as Leads, Accounts, Contacts, Deals, Targets, Products and Cases to which you can relate the automation.

Trigger: The Trigger field lists general actions such as Add, Delete, Edit and Schedule, which you can select to schedule when the automation will be initiated. Then, click on Save and Continue to the next step.

    Criteria

    Now, you can define the Criteria of Automation from the Criteria tab.

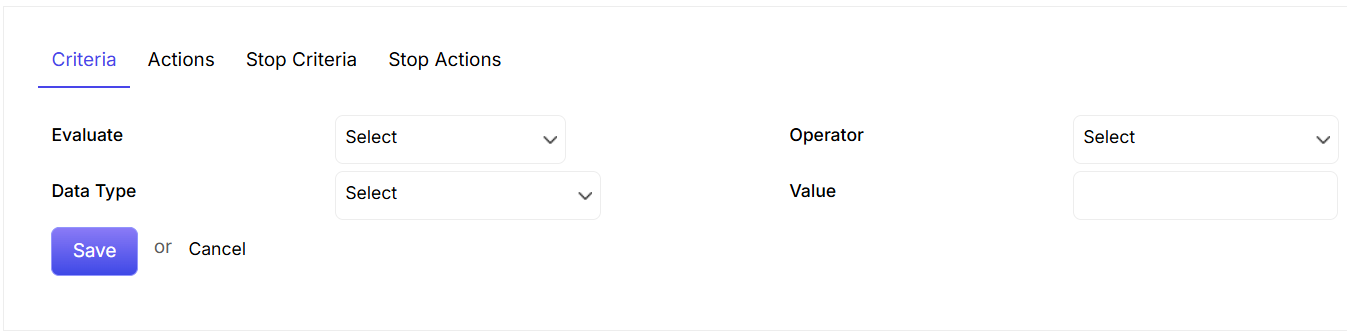
    Evaluate: In the Evaluate field, you can select the fields of the module which you have set in the Related To field.

    Operator: The Operator field helps you choose the logic you want to set in the Automation criteria.

    Data Type: The Data Type field helps you select the type of value you want to implement in the Automation criteria.

    Value: The Value field helps you enter the value of the field which needs to match the Automation criteria.

    You can add the criteria by clicking on the Save tab. Multiple Automation criteria can be added by clicking on the +Add Criteria link which appears after adding the first Automation Criteria.

    Actions
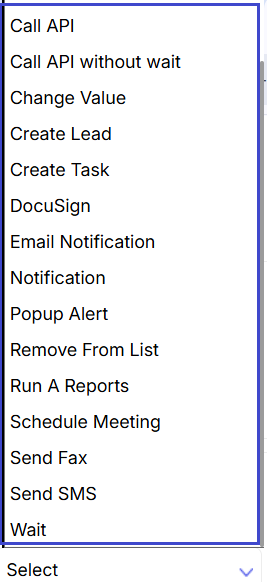
    Then, go to Action tab, and you can define the actions which should be followed sequentially when an automation is triggered after matching the Trigger, Trigger Point and Criteria.
    From the Action Tab, you can take various actions, such as Call API, Create Task, Scheduling Meeting, Change Value, Run A Reports, sending Email Notification and many more.

    Stop Criteria and Stop Actions

    The Stop Criteria tab defines the Criteria which on matching will execute the actions defined under the Stop Action tab.

    In the Stop Criteria, the Fields that need to be fed through the Evaluate, Operator, Data Type and Value fields are the same as the Criteria tab.
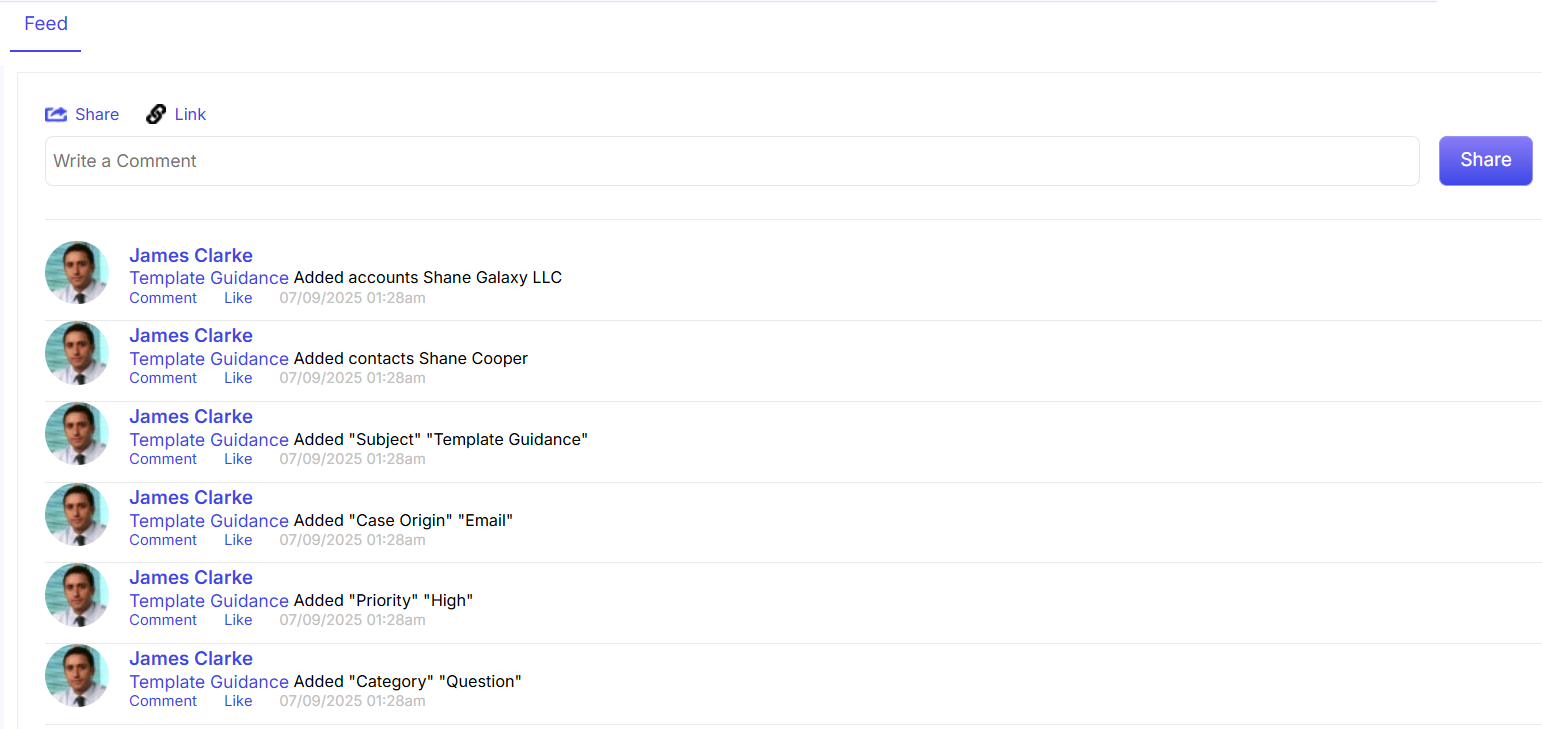
    Logs
    Automation logs in ConvergeHub provide a detailed record of all automated actions triggered within the system. They are essential for monitoring the performance of your automation rules and troubleshooting any issues that may arise.