The type of broadcast medium chosen for a campaign plays a crucial role. Ideally, the broadcast medium should be chosen considering the target audience, budget and expected response from the campaign. Right selection of the broadcast medium can make the campaign a quick success and yield the expected results.
Name: The name section is mandatory to fill.
Expected Response(%): Set the response percentage that you expect from the broadcast.
Expected Revenue: Set the revenue that you expect from the broadcast.
Analytics Tracking Code: Provide the Google code here if you want to track the campaign results through Google Analytic.
Broadcast Medium: Choose the broadcast medium by clicking on the drop down menu.
Budgeted Cost: Set the budgeted cost that you have allotted for the broadcast.
Actual Cost: Once the broadcast is over, fill in the actual cost spent.
Click on the Save and Continue option to proceed to the next tab. Or else, click on the Cancel to stop the creation of the broadcast and the incomplete broadcast will be saved with status Draft.
Lists
This is the second stage of broadcast creation. Here, you can select, edit and create new lists who will be the target audience for the broadcast campaign.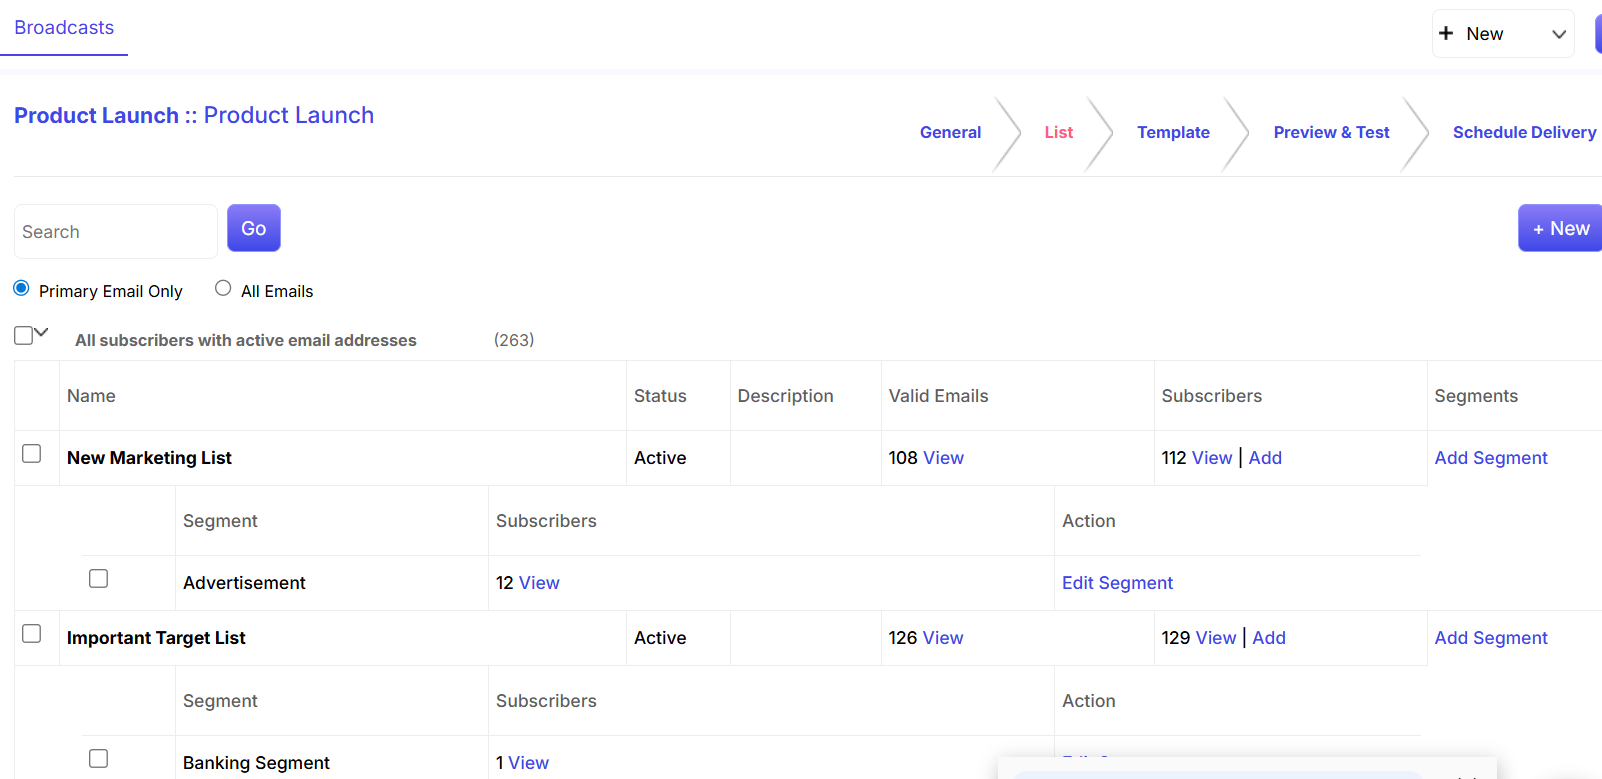
You can search any List by putting your required keyword in the Search field and then hitting the Go button.
You can also create a new list by clicking on the +New button.
You can select different lists/segments by clicking on the CheckBox besides the respective option.
You can view subscribers of an existing List by clicking on the View Subsribers link that pops up when you hover the cursor on any list/segment name.
You can add subscribers to an existing List by clicking on the Add Subscribers link that pops up when you hover the cursor on any list name. You can select targets/accounts/leads/contacts by clicking on the Select button. You can create new targets/accounts/leads/contacts and add them to the list by clicking on the plus button.
You can further filter your List by adding a Segment through Add Segment link. You can also edit a Segment by making your cursor hover on the corresponding Segment and then clicking on the edit link.
Once you have set the list for the broadcast, click on the Save and Continue option to save the List and move to the Template Tab.
Template
This is the third stage of broadcast creation. Here, you can choose the type of template required for sending the broadcast. The below-given screenshot explains the process of choosing a template for email broadcast.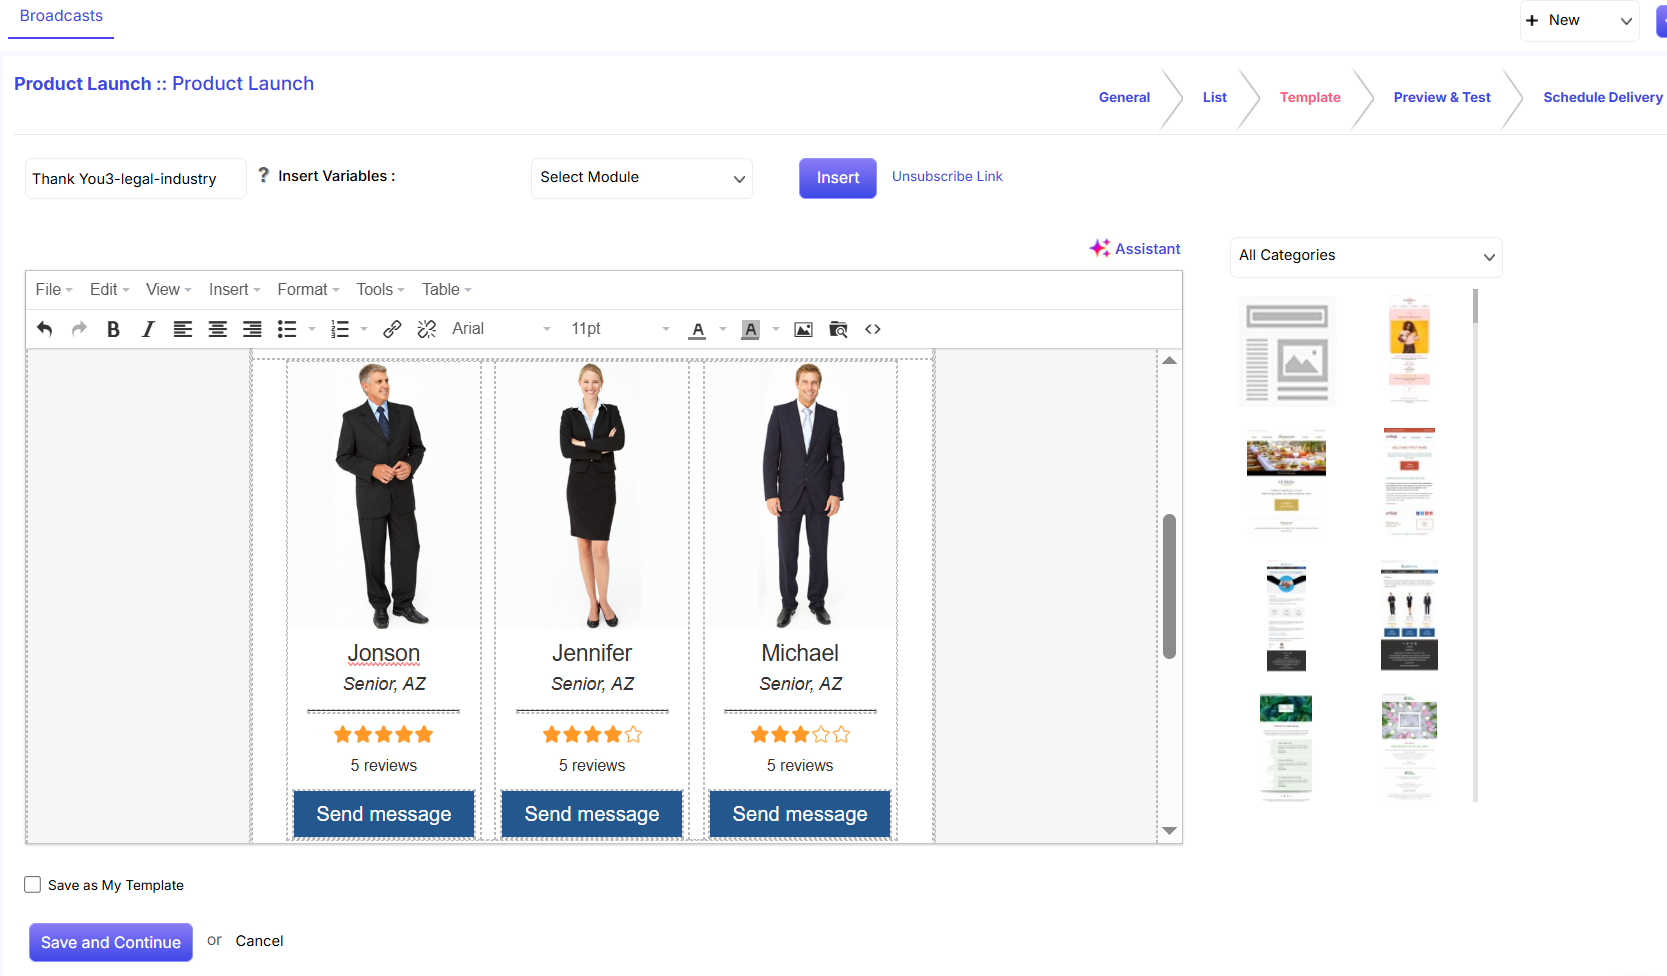
You are required to add the Subject of the e-mail in this field.
You can choose the module from the Select Module drop down option.
Once you have selected the group recipient and the text, click on Insert to apply these on the e-mail.
Select any position in the e-mail and click on the Unsubscribe Link to include it.
Once you have set the template for the broadcast, click on the Save and Continue option.
Preview & Test
This is the fourth stage of the broadcast creation. Here, you can preview the entire broadcast before you send it.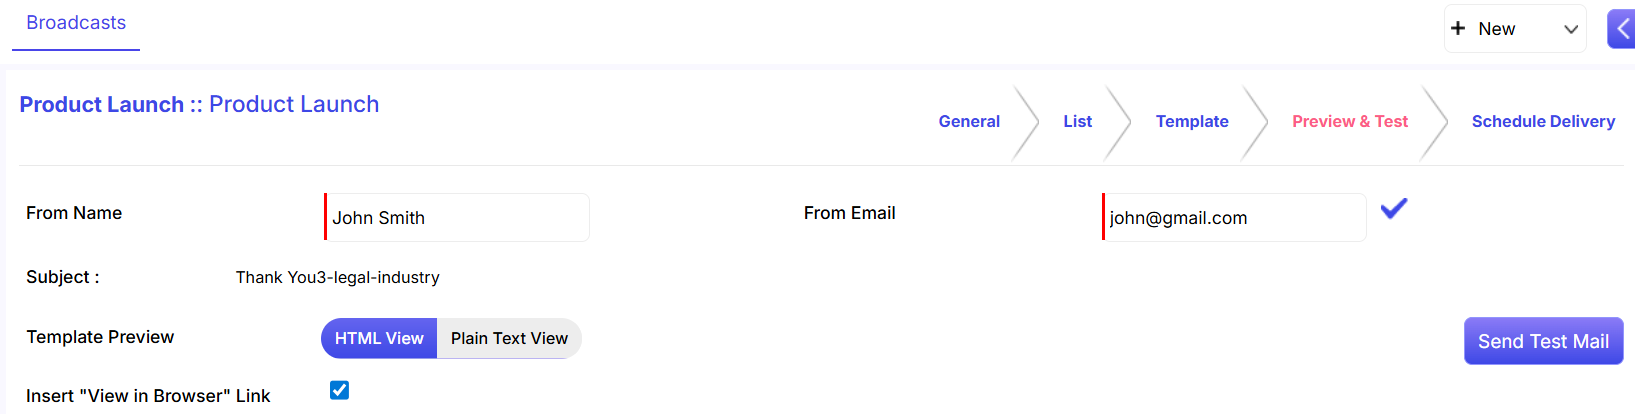
From Name and Email: Name and e-mail fields are mandatory to fill.
Template Preview: You can choose the type of template preview by clicking on either HTML View or Plain Text View.
Send Test Mail: You can send a test mail before you deliver the e-mail to the targeted recipients.
Schedule Delivery
This is the final stage of broadcast creation. Here, you just need to set the delivery date and time of the broadcast.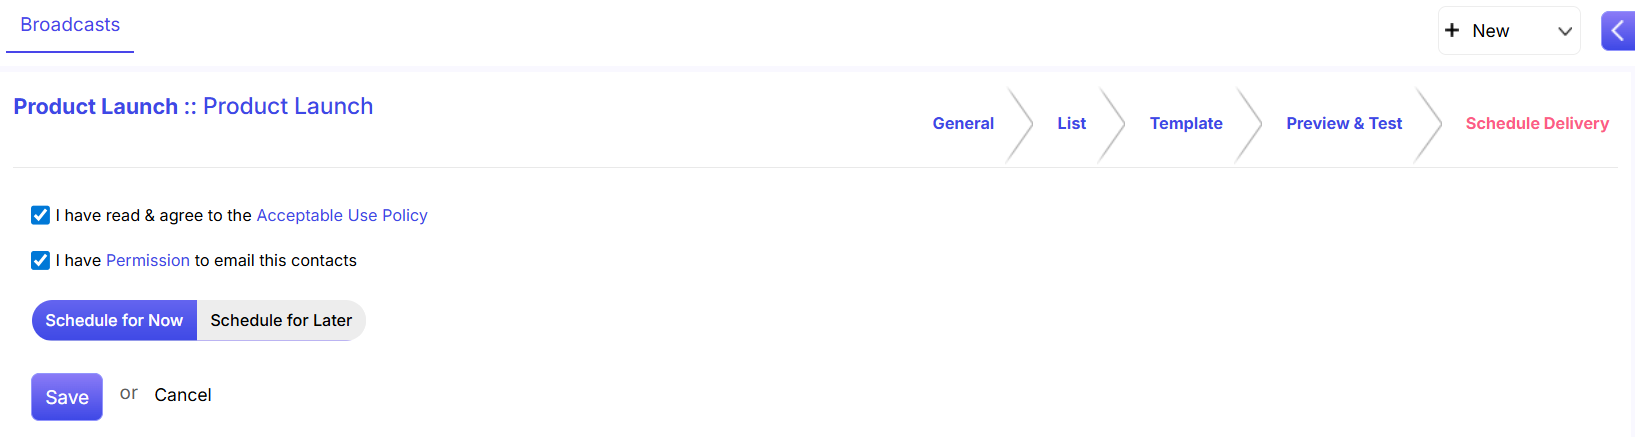
Clicking on the two check boxes is mandatory.
You can set the delivery of the broadcast either immediately, Schedule for Now, or on a future day, Schedule for Later. When you select a future day, you can choose the date from the calendar that pops up.
Once you have set the time and date, click on the Save button.