The profile details page contains all your general information, address, settings etc.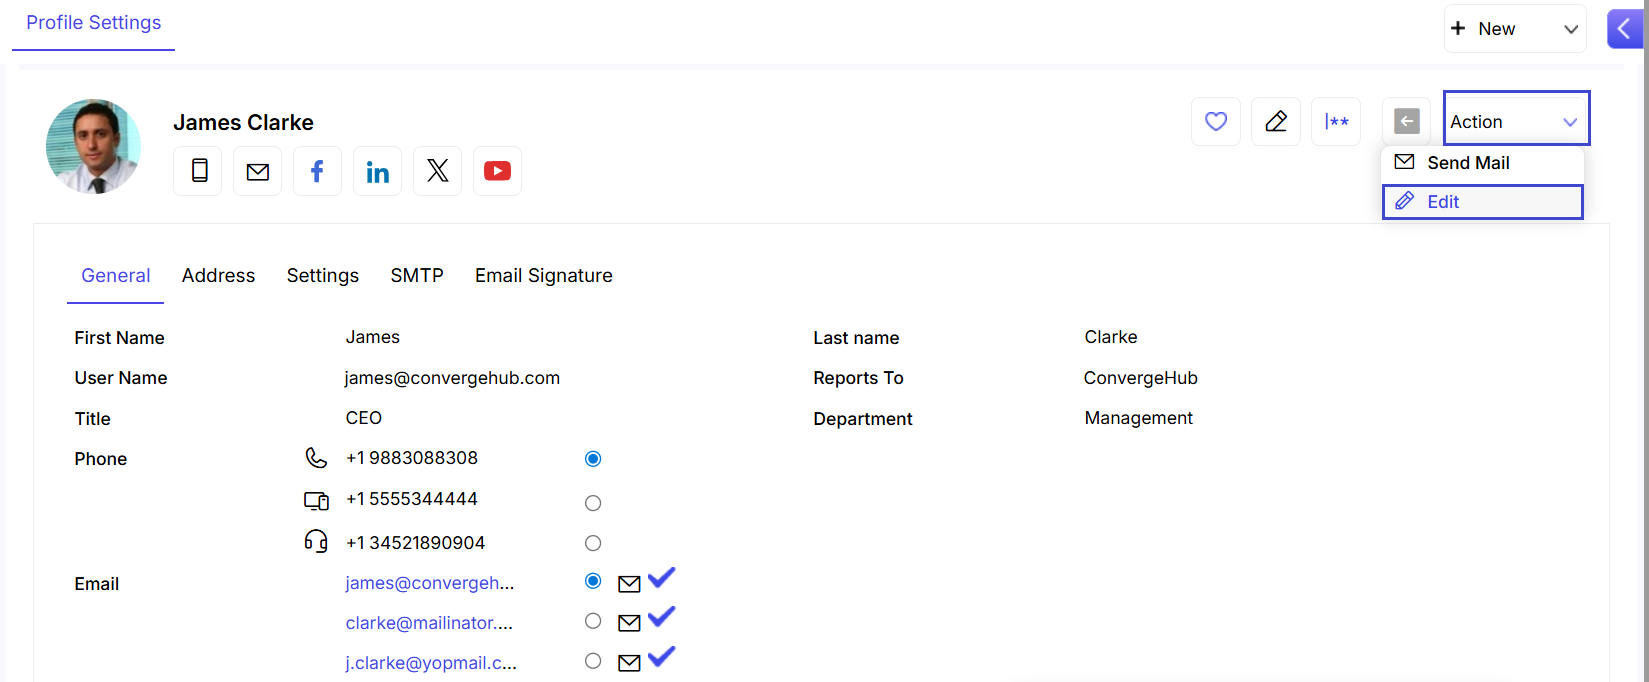
You can view your user account details from General, Address, Settings, SMTP, and Email Signature tabs.
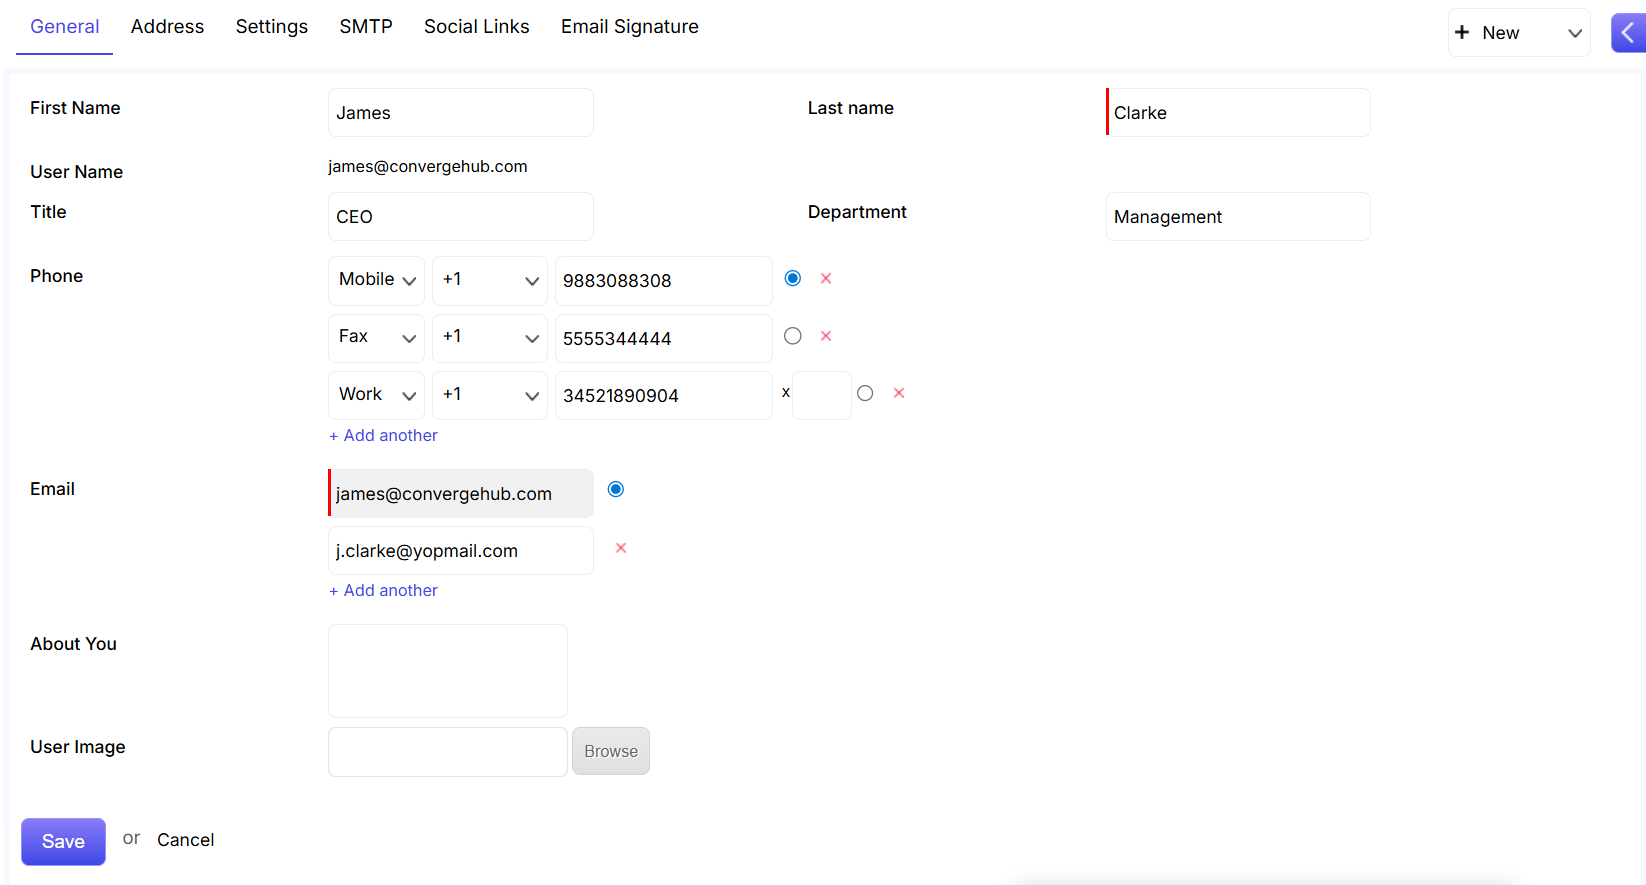
To modify account information, click on the Edit button from the Action dropdown.

 link beside the name of the Report.


 link.
link.


 or delete
 tab.
tab.